
Thermal Grizzly der8enchtable Bare-Bone Test Stand Unboxing and Review: Features, Installation Demonstration, and Hands-On Experience
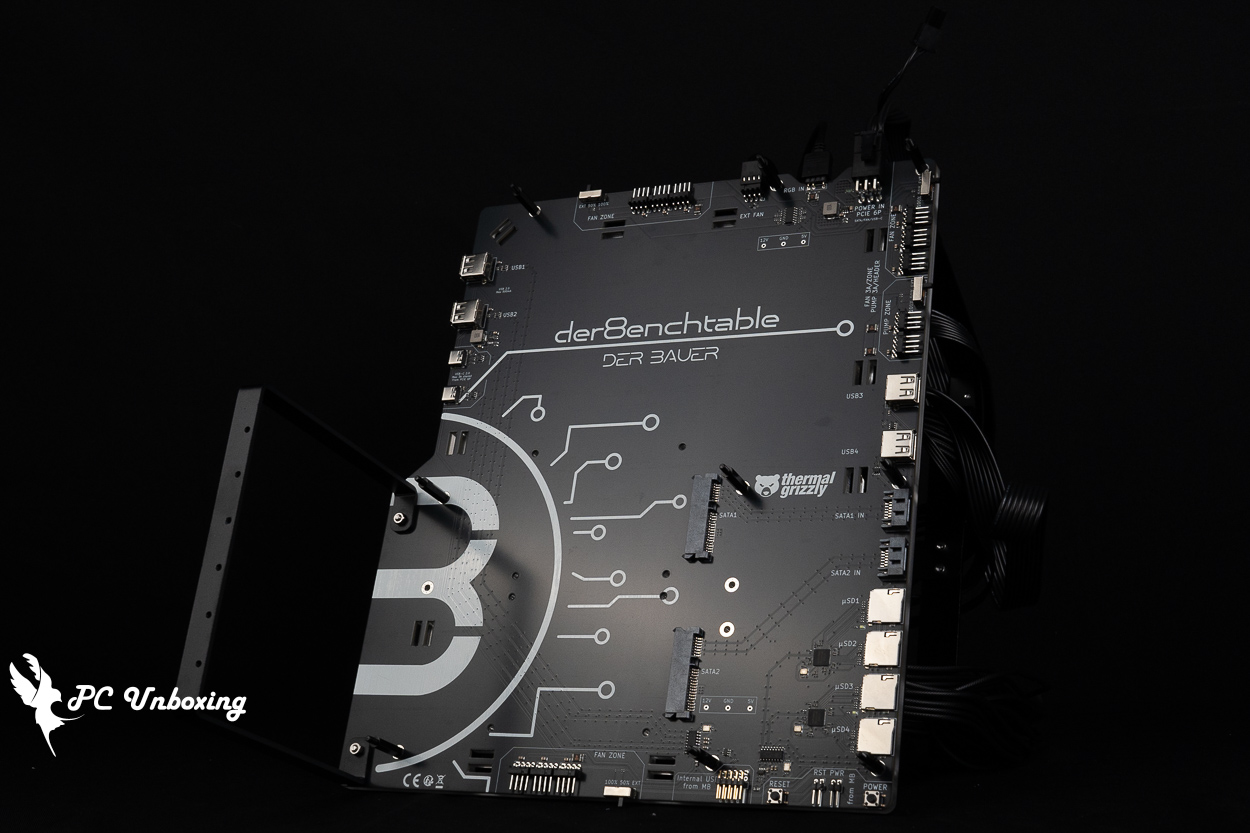
During last year’s 2025 Taipei International Computer Show (Computex 2025), Thermal Grizzly (German “Violent Bear”) showcased the der8enchtable bare-metal test rig, This product was developed in collaboration between Jon “elmor” Sandström (ElmorLabs) and Roman “der8auer” Hartung (CEO, engineer, overclocker, and content creator at Thermal Grizzly), der8auer later released an introductory video that sparked intense interest within the content creator community. The video clearly shows that der8auer himself is very fond of this product, and today, as an unboxing reviewer and overclocker, I’m sharing my hands-on experience with this barebone test rig for your reference.
Thermal Grizzly der8enchtable Bare-Board Test Stand Unboxing: Specifications, Features, and PCB Highlights
In addition to the der8enchtable bare-bone test rig, I also received two types of thermal paste—the Hydronaut Pro and the Duronaut Pro. However, since these two thermal pastes are relatively expensive, I currently don’t have a suitable project to test them with, so I’ll set them aside until I have something similar to *AMD Ryzen 9 7950X AM5 processor open-cover thermal performance test》Save this for when you're ready to carry out an interesting project!
Hydronaut Pro is a silicone-free thermal paste designed for industrial systems or applications featuring large-area heat sinks, such as PCs equipped with custom split-system liquid cooling solutions. Hydronaut Pro combines high performance with an attractive price-to-performance ratio and is specifically designed for overclocking applications using a silicone-free carrier structure. Many thermal pastes use silicone-based oils (such as siloxanes) as carrier or matrix components. Under thermal stress, particularly during temperature fluctuations, silicone grease may undergo changes such as bleeding and displacement from the contact area; repeated temperature fluctuations and minute movements between the CPU IHS and the heatsink base can exacerbate this phenomenon! The mechanical displacement of thermal paste from the contact surface is known as the pumping effect. In normal PC use, this typically does not cause serious problems. However! In industrial applications, the leakage of silicone-based oil may be undesirable, especially when adjacent materials or sealing materials (such as certain EPDM or NBR seals) are incompatible with silicone oil. This can lead to material swelling or changes in performance.
Thermal Grizzly Duronaut Pro is a thermal paste that offers long-term stability and superior thermal conductivity, making it the ideal high-end choice for gamers and overclocking enthusiasts. Duronaut is also recommended as a top-tier product for demanding industrial cooling systems; its development focuses not only on optimizing thermal conductivity but also on enhancing its exceptional long-term stability. The term “Duronaut” is derived from the English word “durability.” This exceptional long-term stability is achieved through a combination of specially formulated silicone oil, aluminum micropowder in various forms, and zinc oxide nanopowder. Optimized particle shape and size minimize the so-called “pumping effect” and ensure excellent adhesion between the thermal paste and the surface. This results in extremely low thermal contact resistance. The optimized particle shape and size allow Duronaut Pro to be applied in an extremely thin layer, thereby enhancing adhesion and minimizing thermal resistance. This thin coating, combined with the high thermal conductivity of the mixture of aluminum microparticles and zinc oxide nanoparticles, ensures efficient heat transfer between the heat source (e.g., the CPU) and the heat sink.
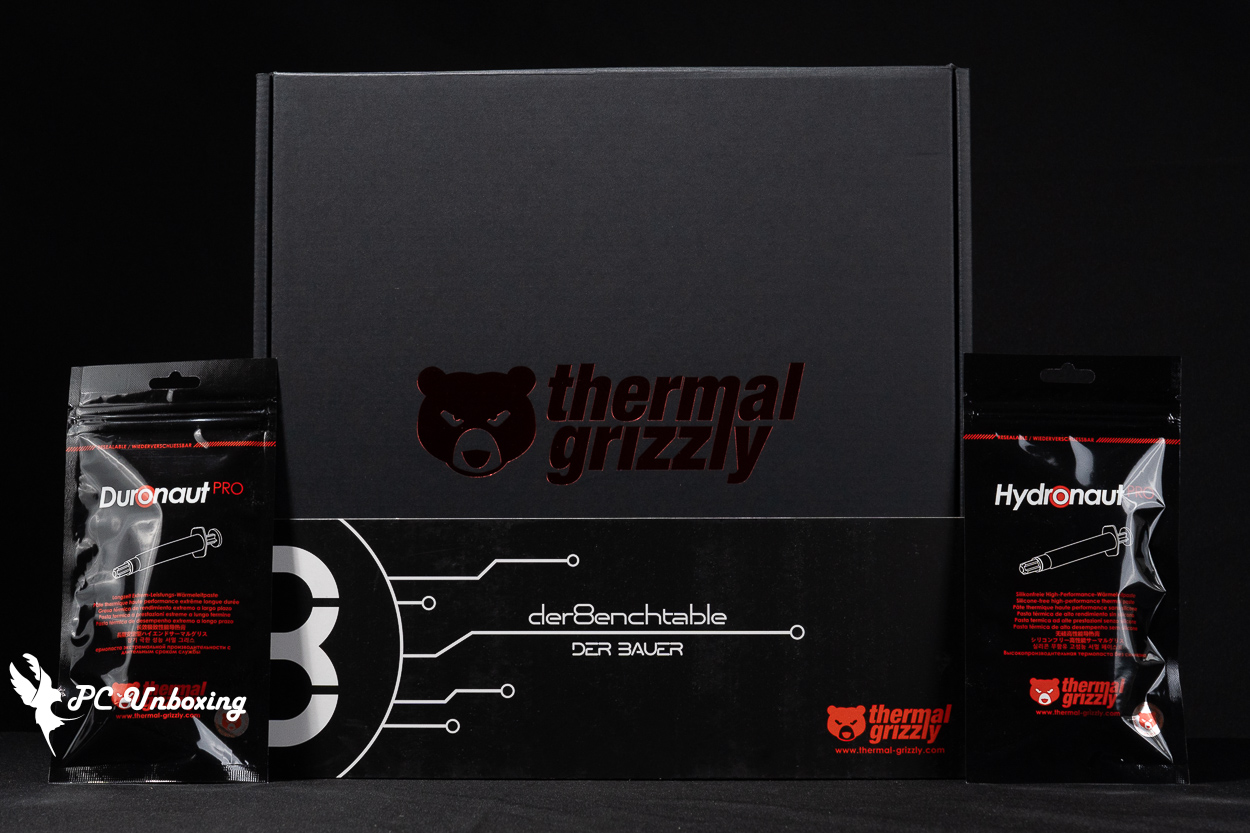
△ Thermal Grizzly der8enchtable bare-board test rig, Duronaut Pro thermal paste, Hydronaut Pro thermal paste.
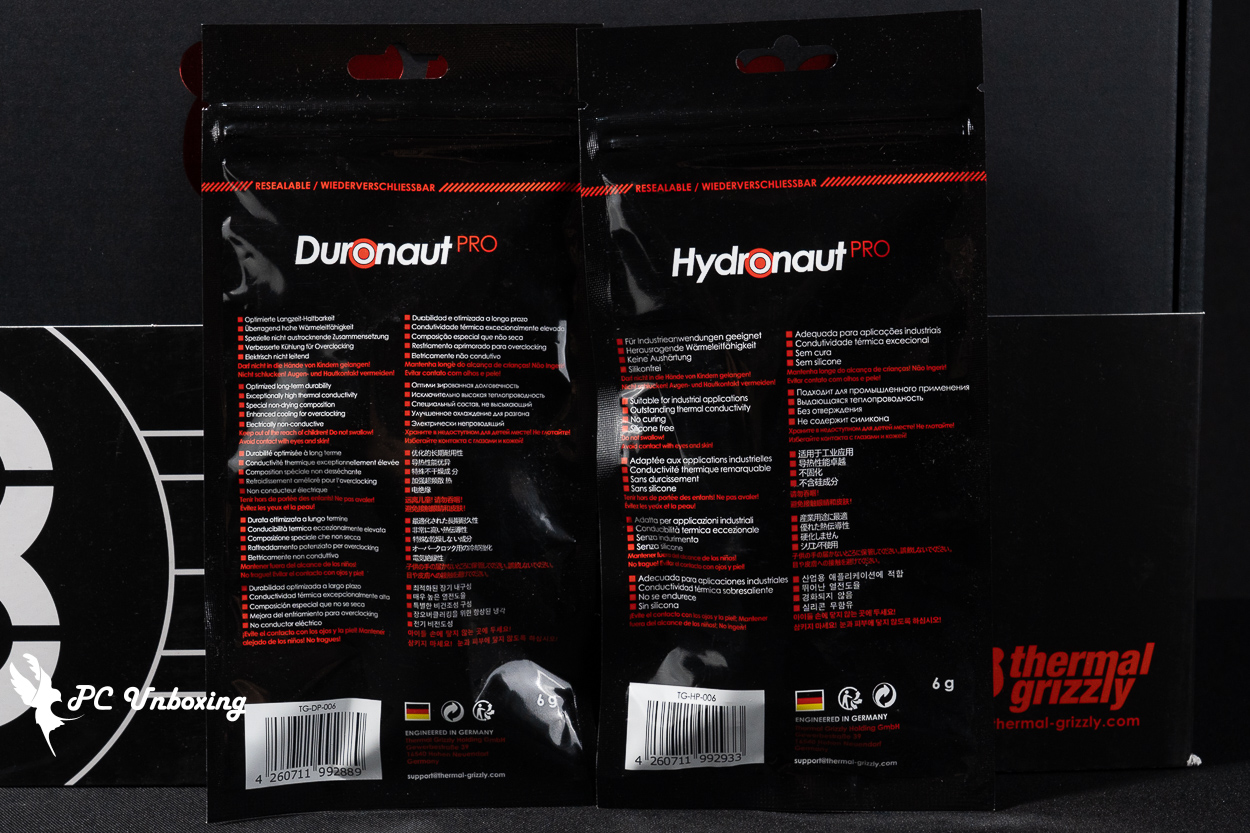
△ Features of the thermal paste—I’ll save it for use with a suitable project later on.
der8enchtable combines a classic test platform (featuring a frame design with mounts for heat sinks and power supplies) with an active PCB. It is designed to provide a simple yet comprehensive bare-board test platform for PC hardware testing.
The core component of the der8enchtable is a base with an integrated PCB, mounted on a black anodized aluminum frame. You can also choose not to install the optional frame (which includes a heatsink and power supply mounting bracket) and instead mount the PCB directly onto the base’s feet.
Currently, most people use Streacom BC1-related products as their barebone chassis, such as the one I unboxed previously in *BC1 Mini》, so it's clear that der8enchtable will go head-to-head with it, and players will compare the differences between the two based on the situation.
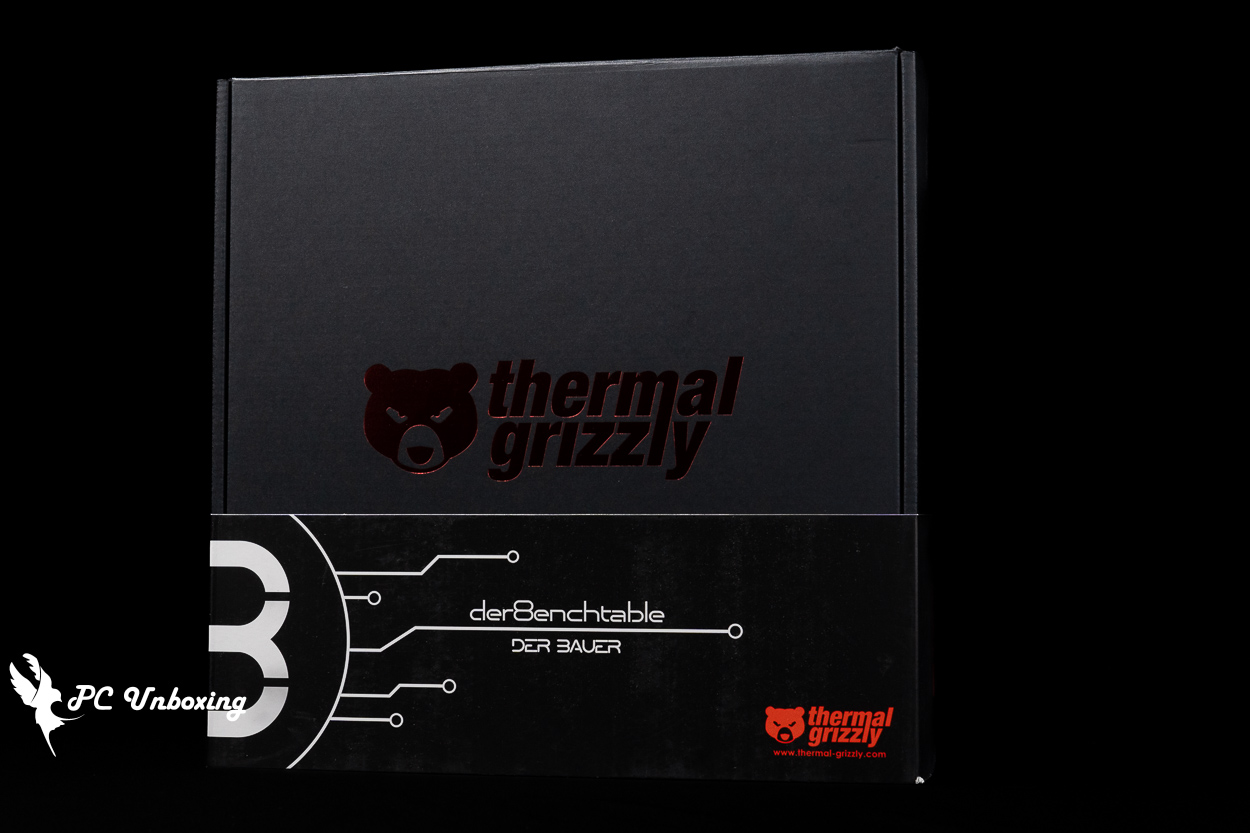
△ Thermal Grizzly der8enchtable bare-metal test rig.
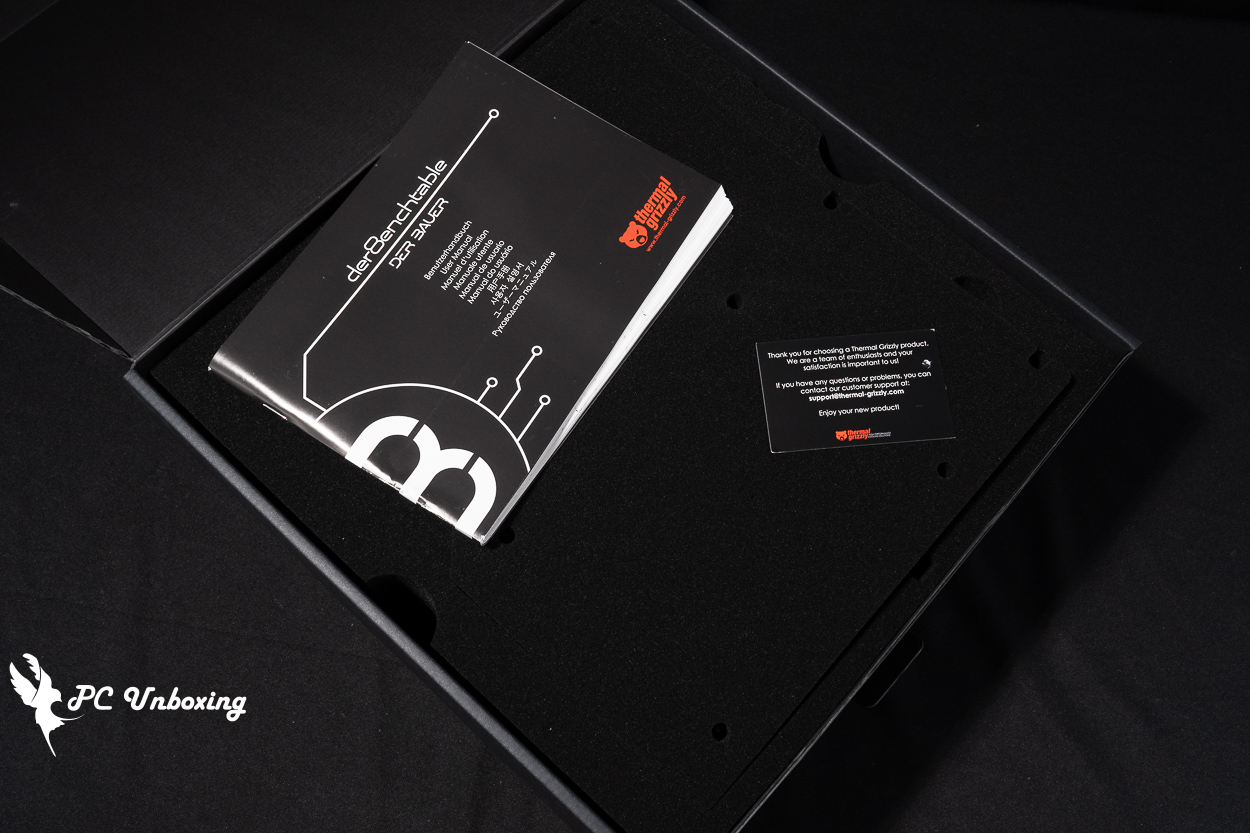
△ It’s been a long time since I’ve seen a printed manual this thick.
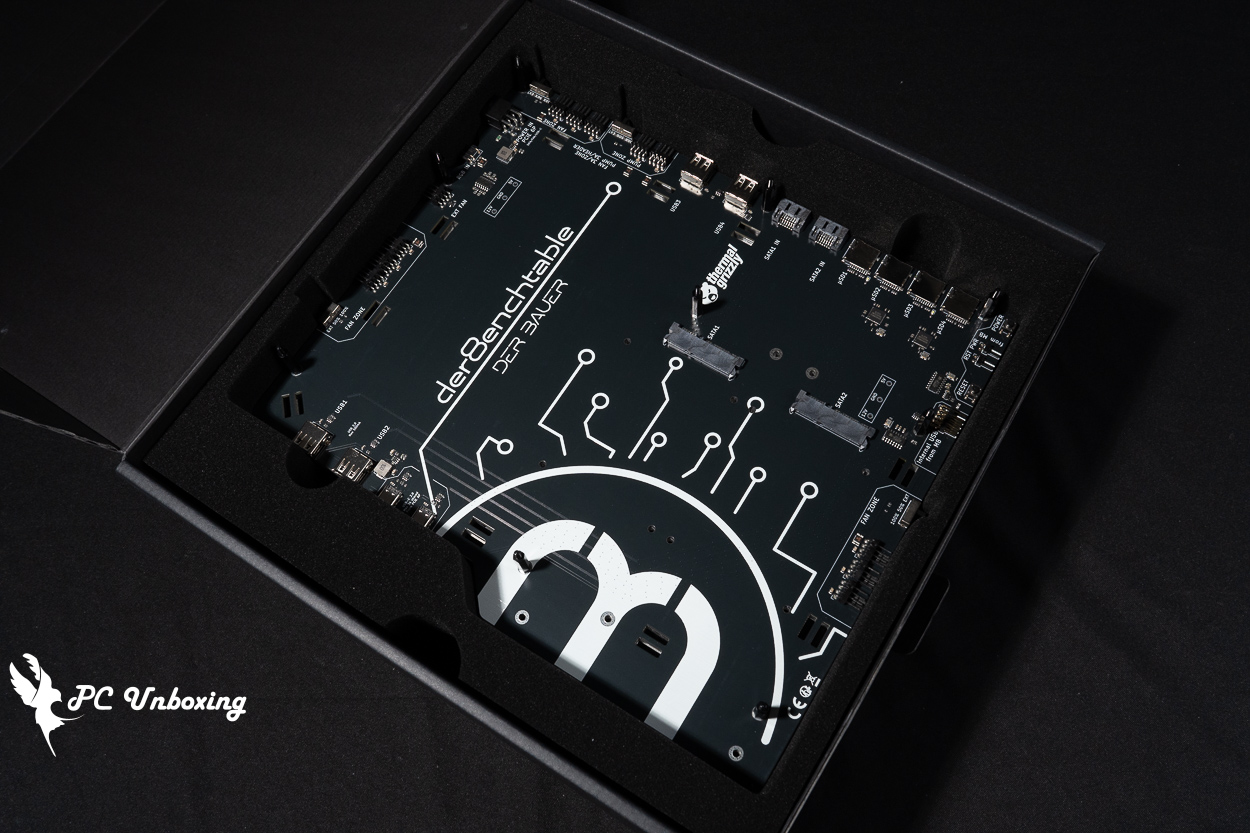
△ The first layer of the laminate is the PCB substrate.
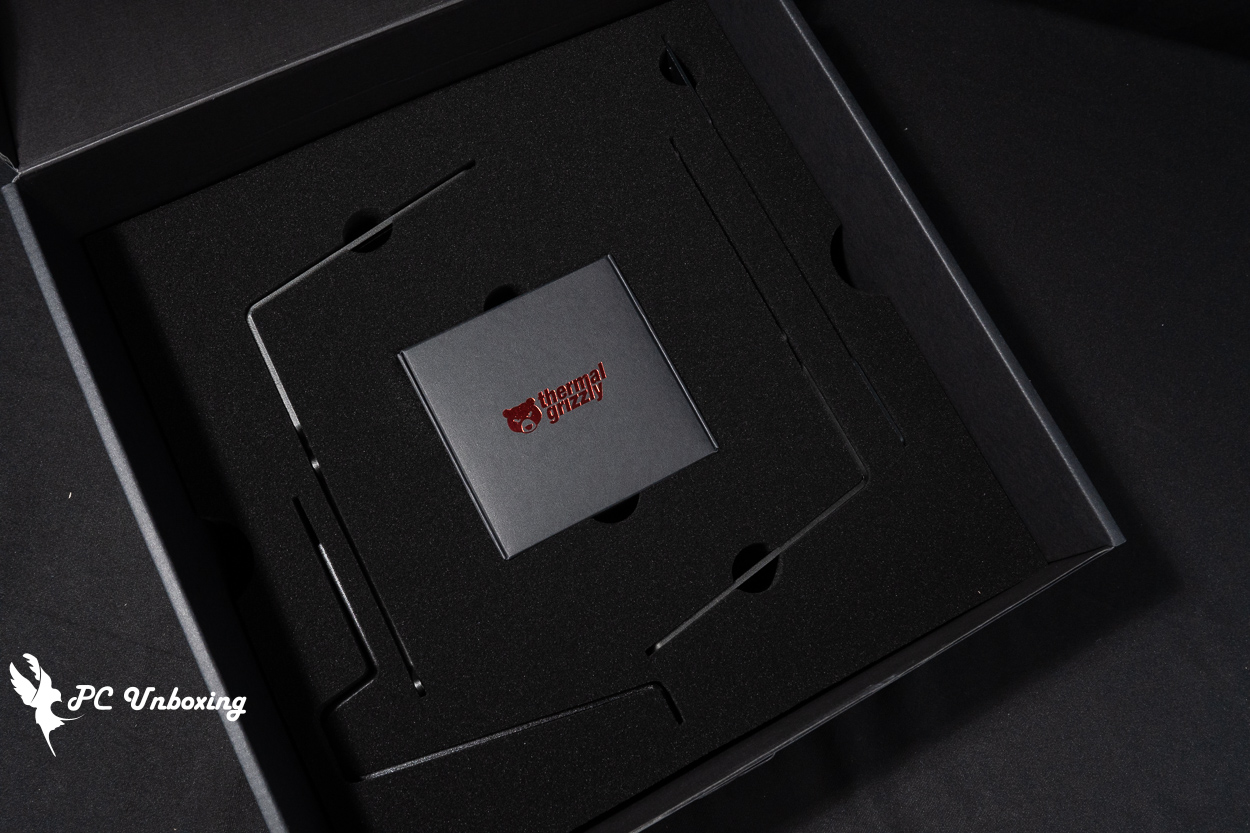
△ The second layer contains the fan mounting bracket and the accessory box.
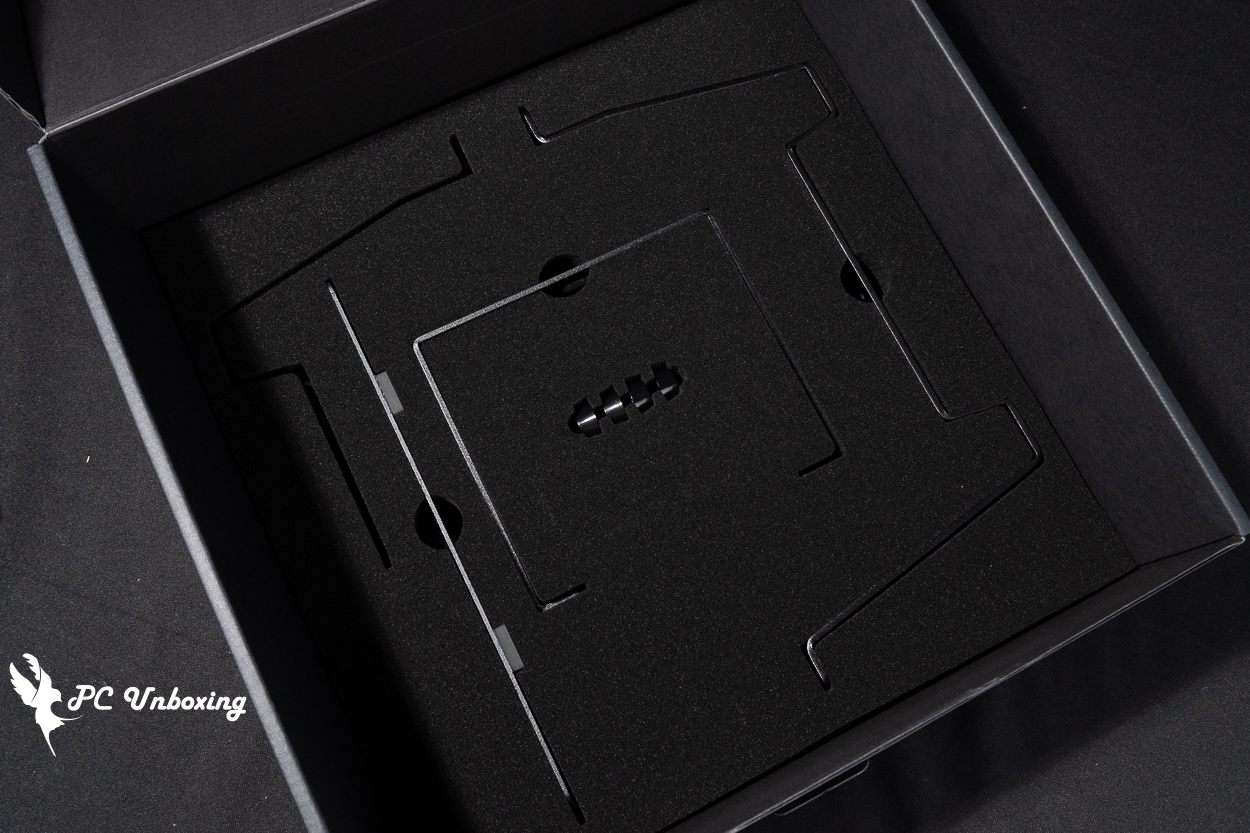
△ The third layer consists of the base mounting bracket, the power supply mounting bracket, and the base feet.
In addition to numerous USB ports and two SATA slots for SSDs, the integrated PCB allows you to load the drivers, BIOS versions, or operating systems required for testing and benchmarking by inserting a MicroSD card into the PCB slot.
This barebone test rig is equipped with a total of three fan controllers (fan zones), each zone featuring three 4-pin PWM fan connectors, enabling hardware testing under stable cooling conditions. Each fan zone can be individually switched to either 50% or 100% fan speeds. Each zone supplies 3 amps of current to the fans and is protected by an independent fuse. The der8enchtable fan zones can also be connected to the motherboard via the 4-pin connector on the PCB for control.
In addition to the fan control section, the base PCB also features a separate PUMP control section with two 4-pin PWM slots that can be used to control water pumps or fans, offering the same control options as the fan section. Each slot in the water pump section delivers 3A of current and is equipped with an independent fuse. To control the ARGB lighting on the barebone itself, you can connect the der8enchtable to the motherboard slot via a 3-pin connector and cable for synchronization.
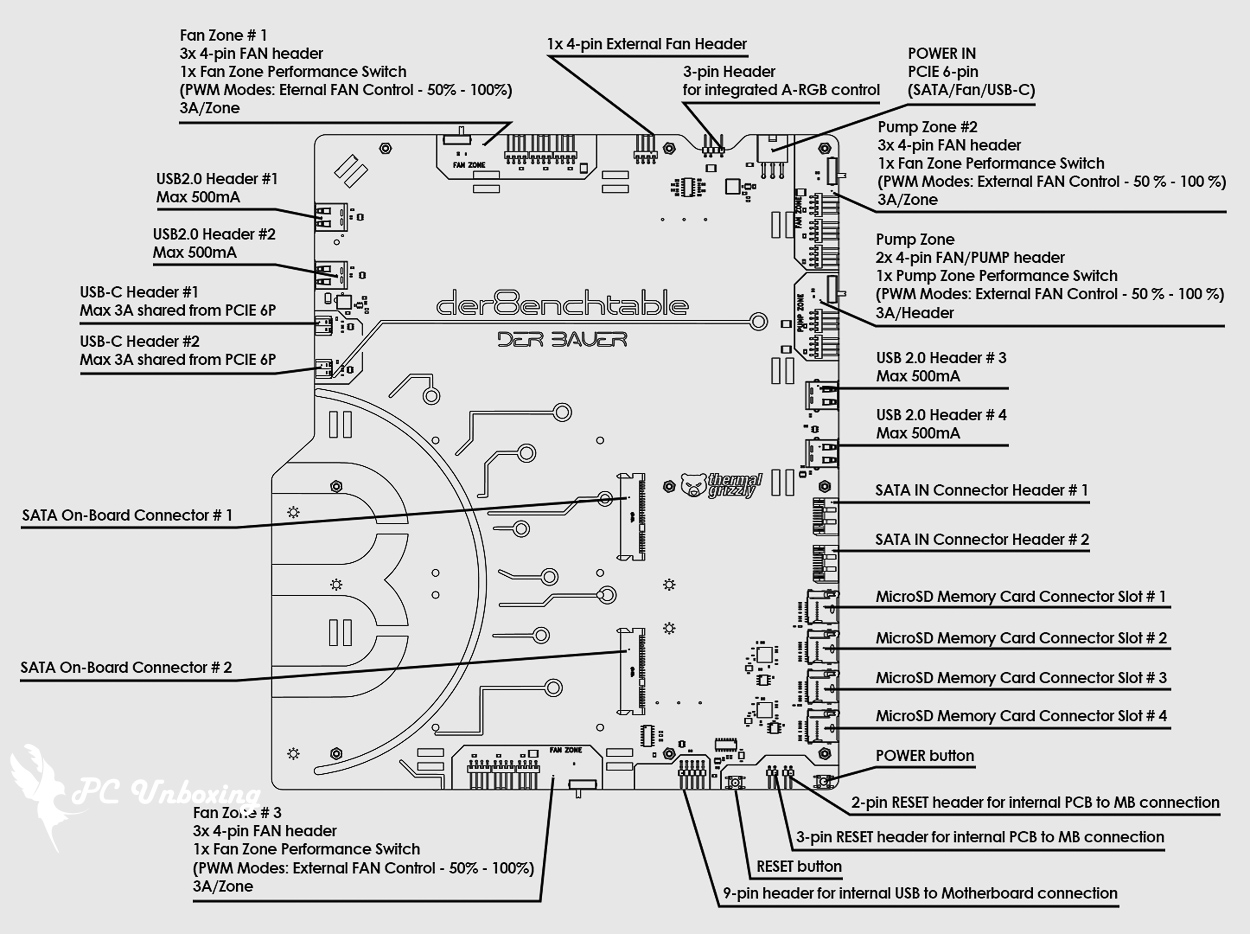
△ der8enchtable: Diagrams showing the various slots.
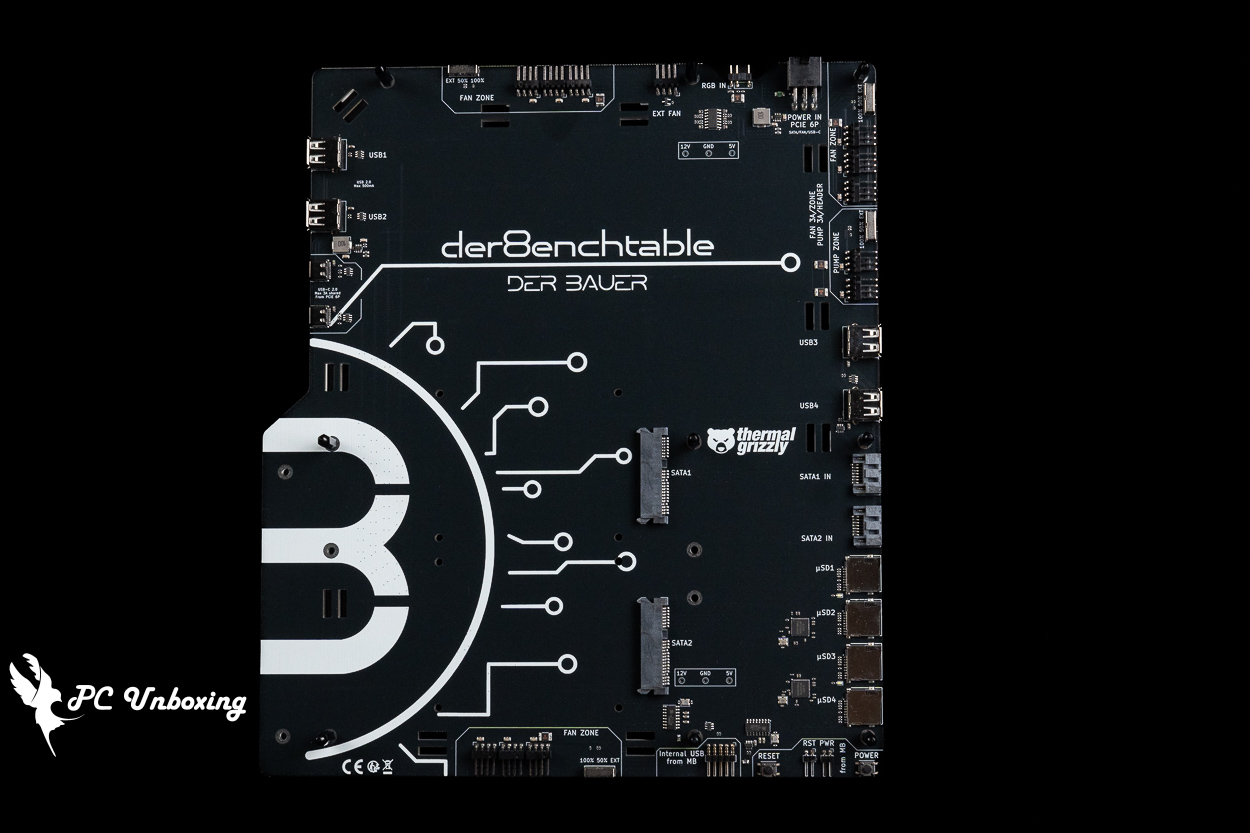
△ Actual PCB base.
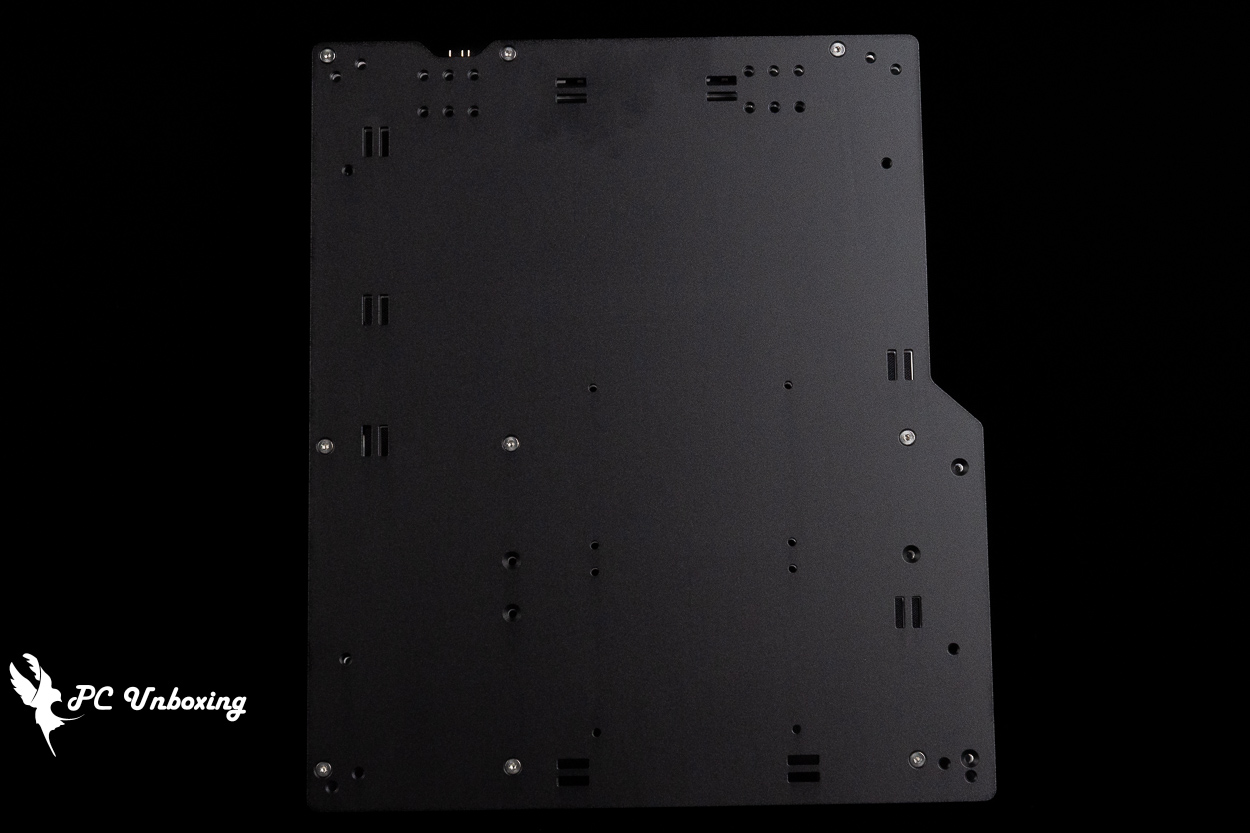
△ The back of the base is made of anodized brushed aluminum alloy, which enhances stability and adds a premium feel.
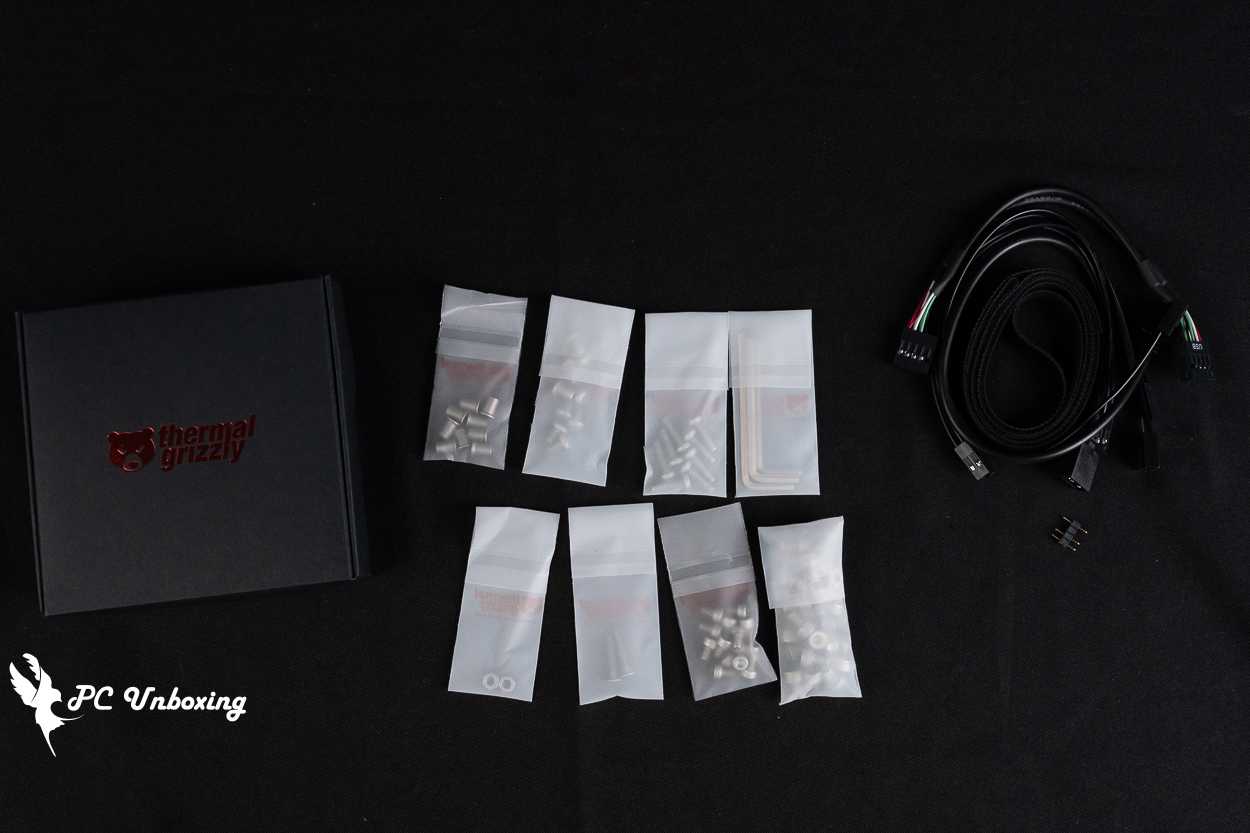
△ The accessory box includes various screws, USB 2.0 cables, ARGB cables, and power and reset cables. It would be better if each bag of screws were labeled with its specifications or part numbers.
This bare-board PCB measures 264 mm wide and 305 mm long. If the fan mounting bracket is added, the total length becomes 430 mm, As for the height, it depends on whether the base bracket is installed or if a compact configuration using only the base feet is used. With the base bracket installed, the total height is 323 mm (including the height of the fan mounting bracket); the compact configuration stands at 190.5 mm tall, and if the fan and graphics card brackets are removed, the height is only 38 mm (including the height of the base feet).
At the top of the barebone chassis are the FAN ZONE fan control section, the EXT FAN slot for synchronizing fan speeds with the motherboard, the RGB IN (5V 3-pin ARGB slot for synchronizing lighting effects with the motherboard), and the POWER IN (PCB power supply slot).
Since the der8enchtable barebone test rig’s PCB offers so many practical features, it requires a graphics card with a PCIe 6-pin power connector to power it. Therefore, if the graphics card on your test platform uses multiple PCIe 6-pin or 8-pin power connectors, you may need to check whether you have enough power cables.
Next to each FAN ZONE fan control block is a % digital switch that lets you set the fan speed directly. For example, I usually set the fan speed to 100% during my tests. With this feature, there’s no need to go into the BIOS to adjust the settings, which I find quite handy.
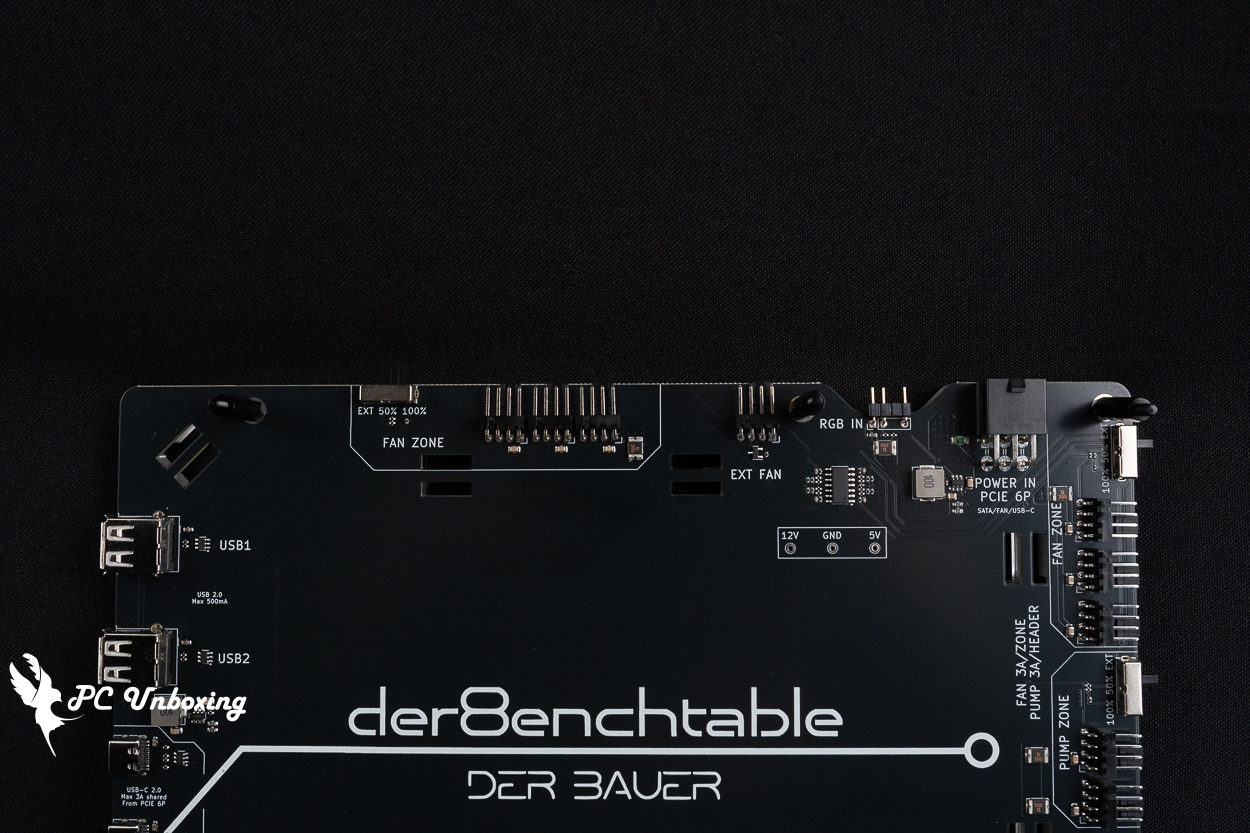
△ FAN ZONE, EXT FAN, RGB IN, POWER IN.
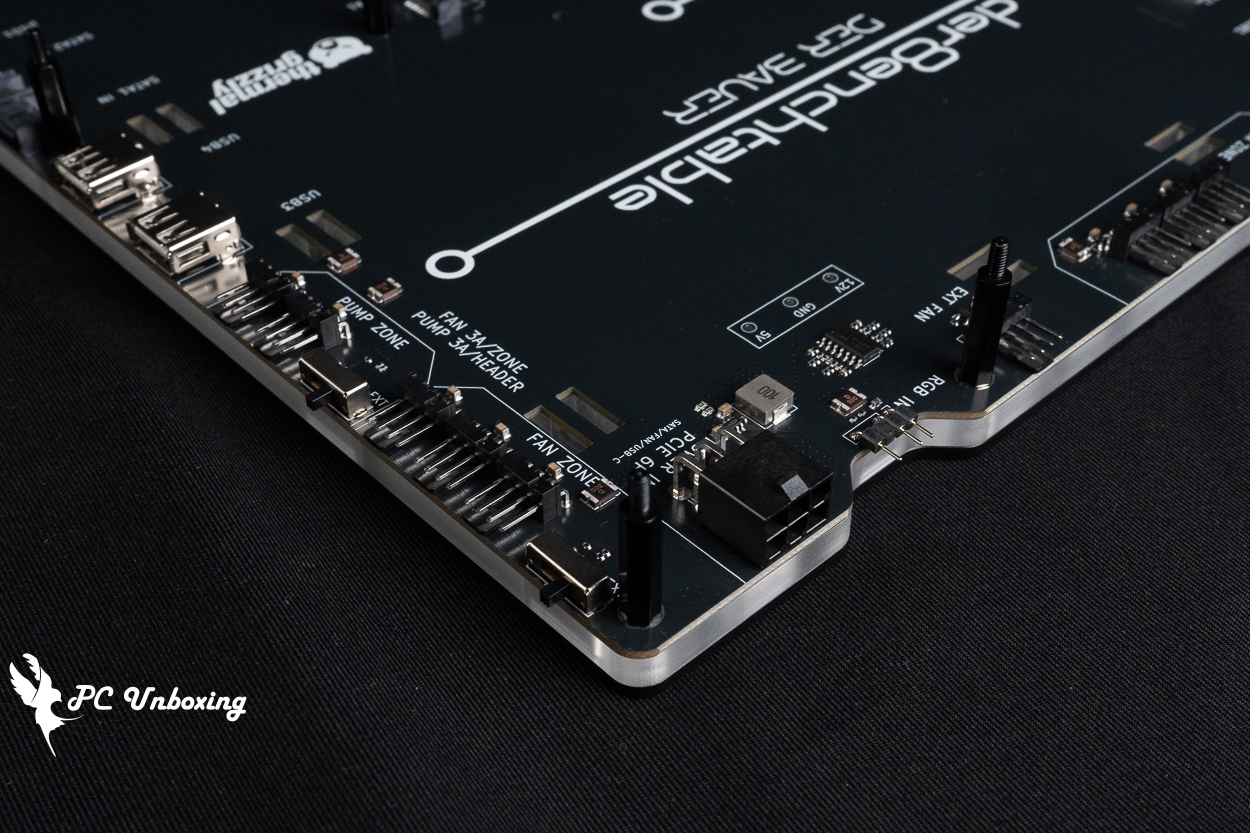
△ The der8enchtable barebone requires a 6-pin PCIe power connector.
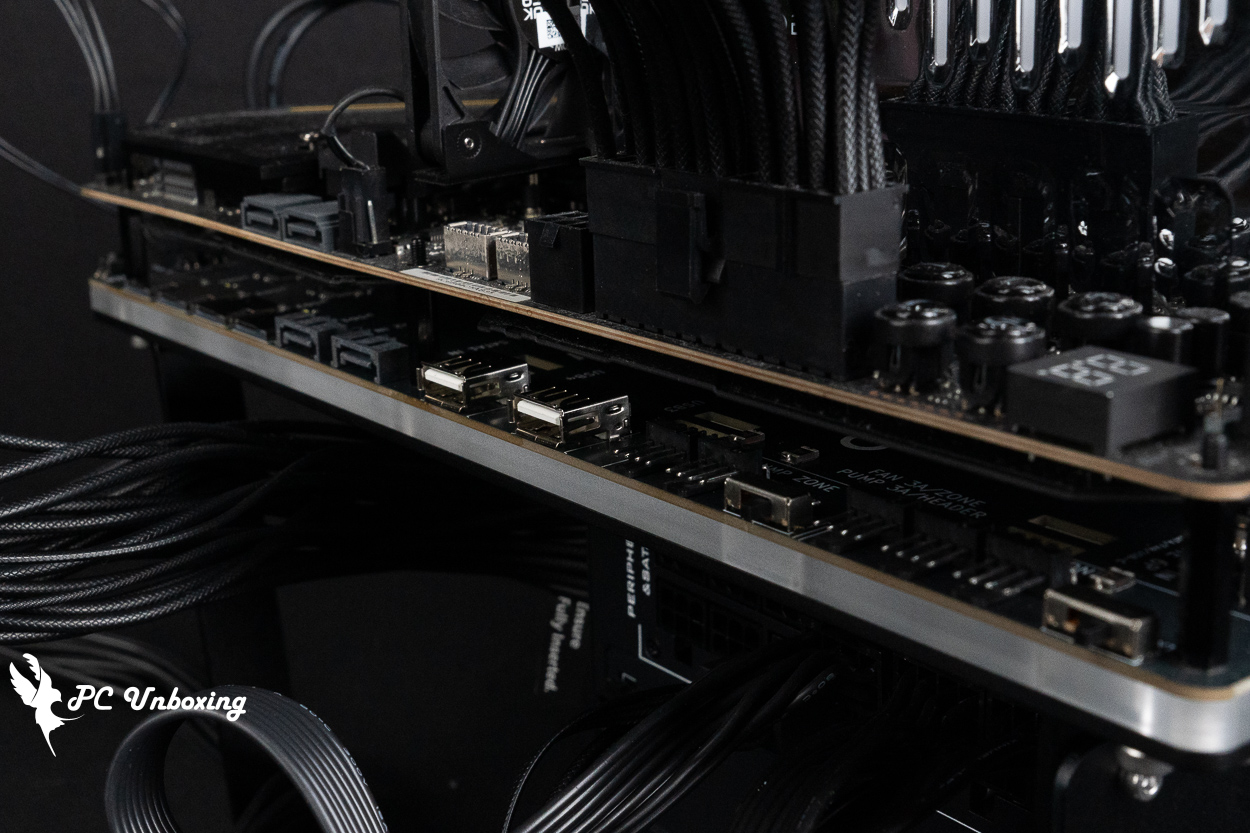
On the right side of the barebone chassis, there is a FAN ZONE for fan control, a PUMP ZONE for pump control, two USB 2.0 ports, two SATA ports (for connecting to the motherboard), and four MicroSD card slots.
The USB 2.0 and MicroSD card slots allow you to connect compatible storage devices and store frequently used test software or update files on the device for use.
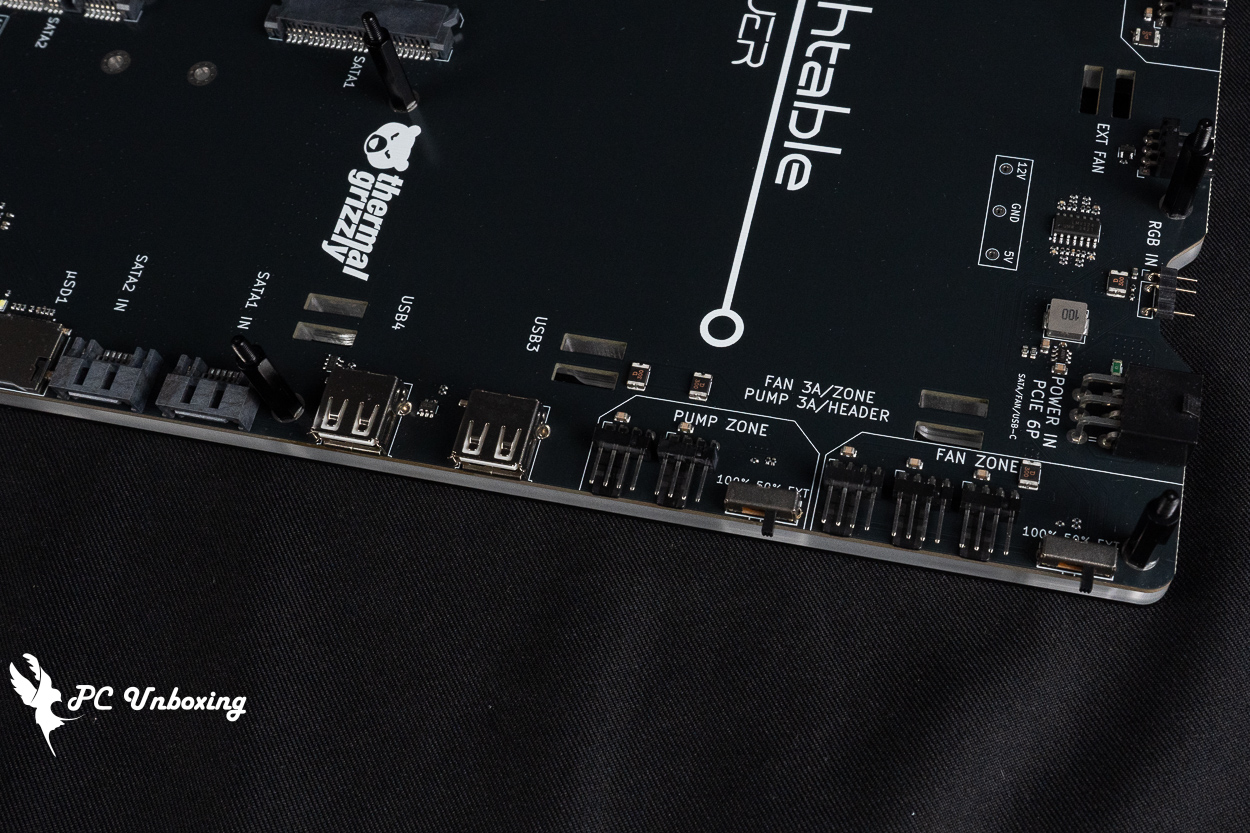
△ FAN ZONE, PUMP ZONE, two USB 2.0 ports, and two SATA ports.
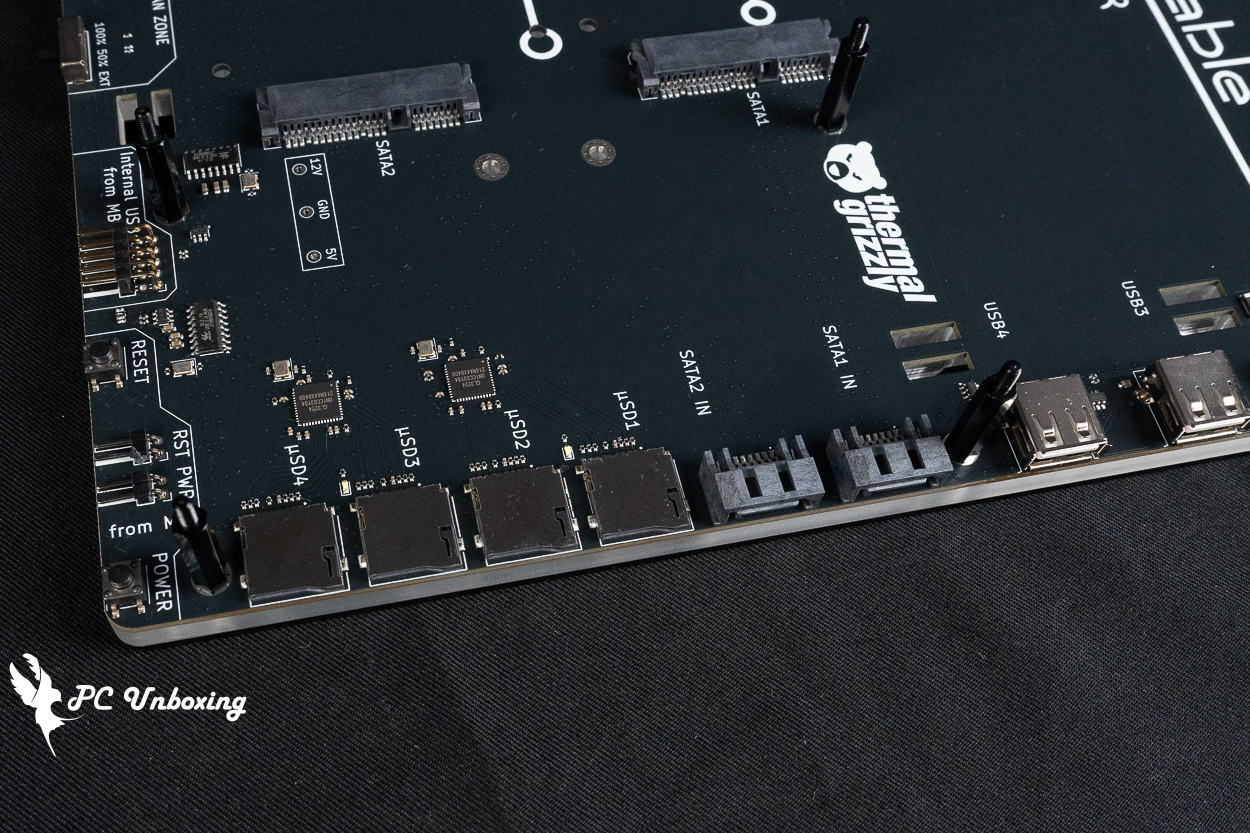
△ Four MicroSD card slots.
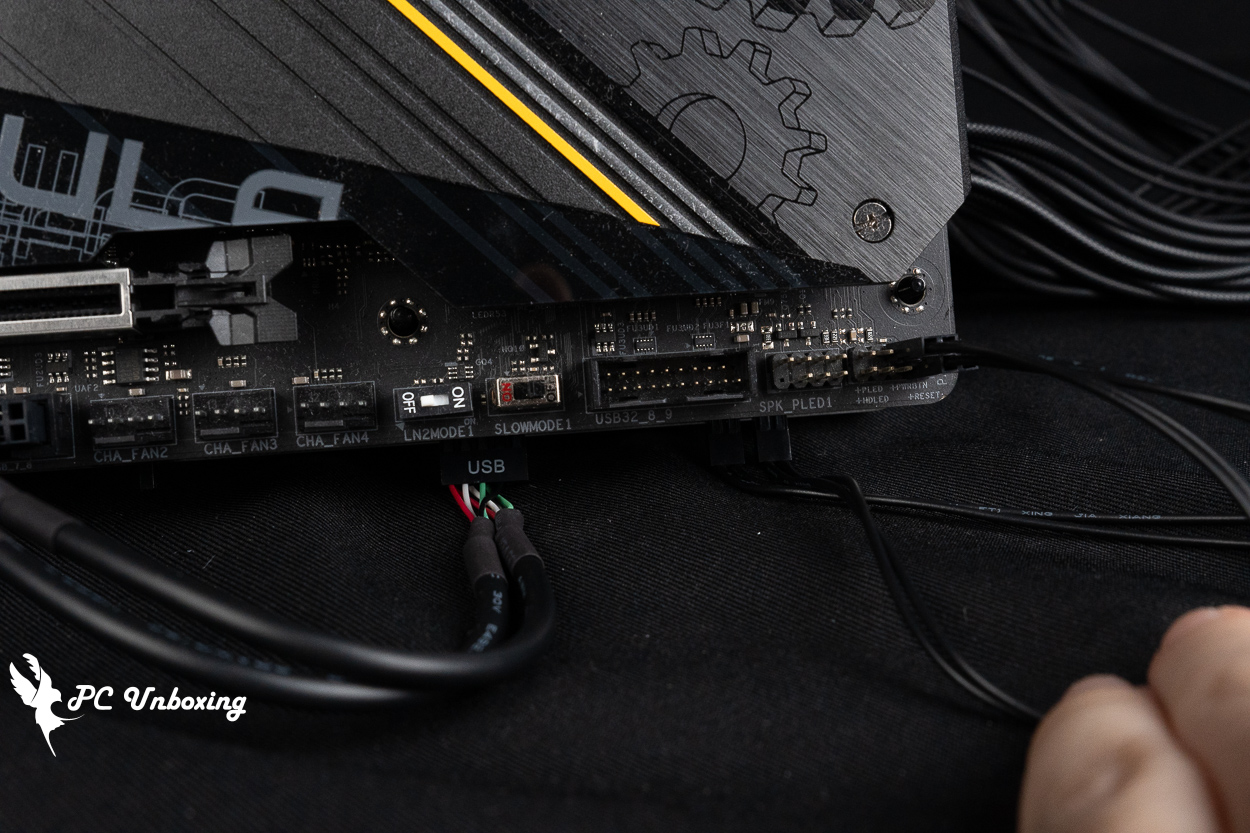
The bottom row of the barebone test stand features power and reset buttons, along with the corresponding slots; a signal connector for connecting to the motherboard via USB 2.0; and the FAN ZONE fan control section.
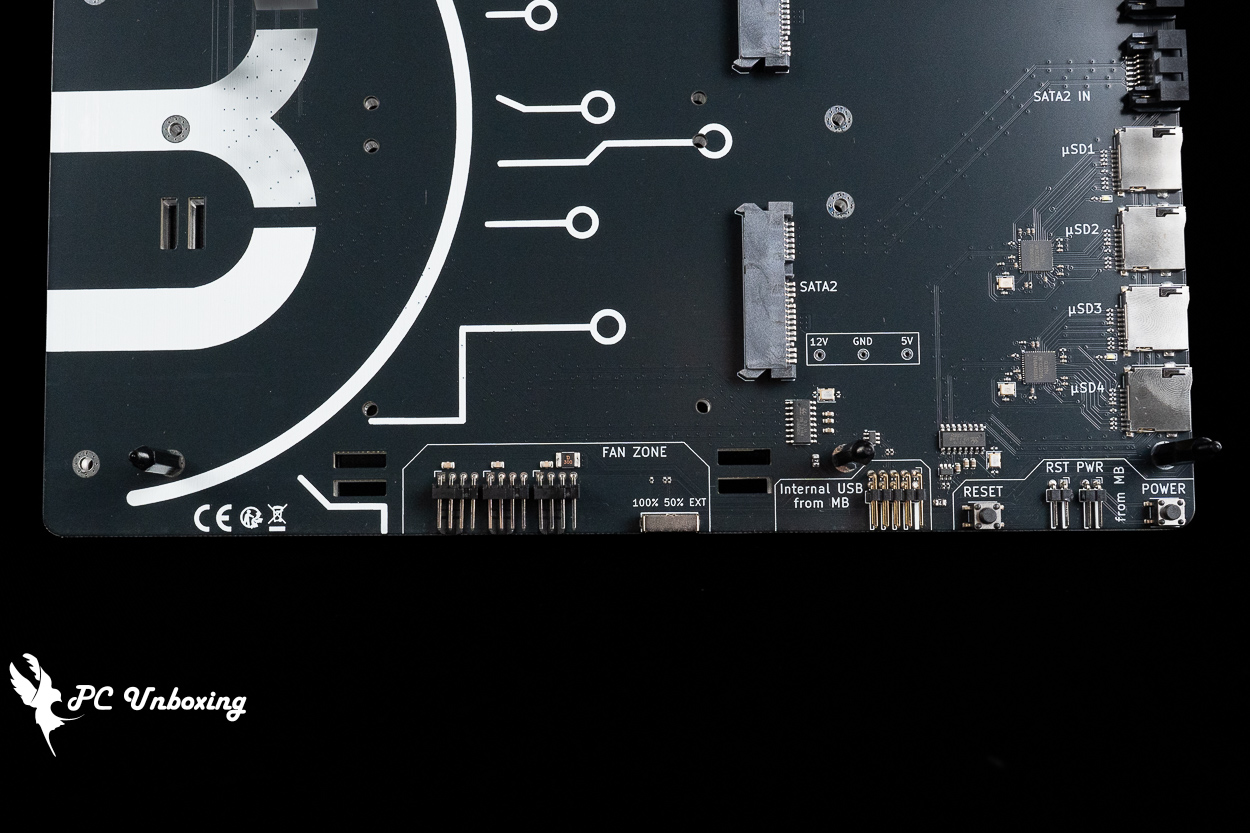
△ Overview of the lower row of functional areas.
The Thermal Grizzly der8enchtable barebone chassis features two SATA drive bays designed to accommodate two 2.5-inch solid-state drives. Simply install the SSDs into the bays and secure them with screws to get started. but be sure to connect the PCIe power and SATA cable connectors on the barebone PCB.
I find this slot very practical—it can be used to hold game discs for testing purposes, and I can also store the testing software there. This way, when I switch out test motherboards or do other tasks, I don’t have to swap out the test discs, which is quite convenient. It’s just a shame that I mostly use M.2 SSDs; it would be great if this barebone test rig had a slot for M.2 drives.
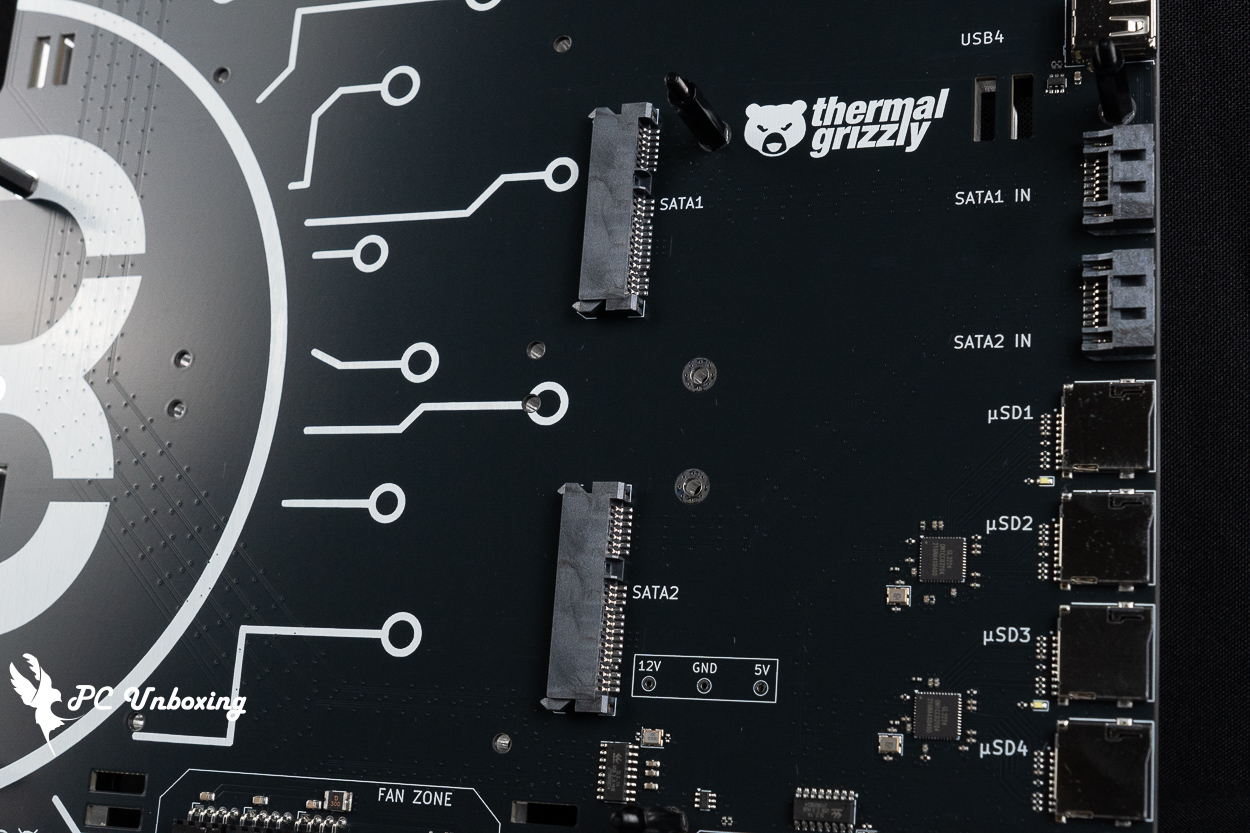
△ The PCB features two 2.5-inch SATA SSD expansion slots.
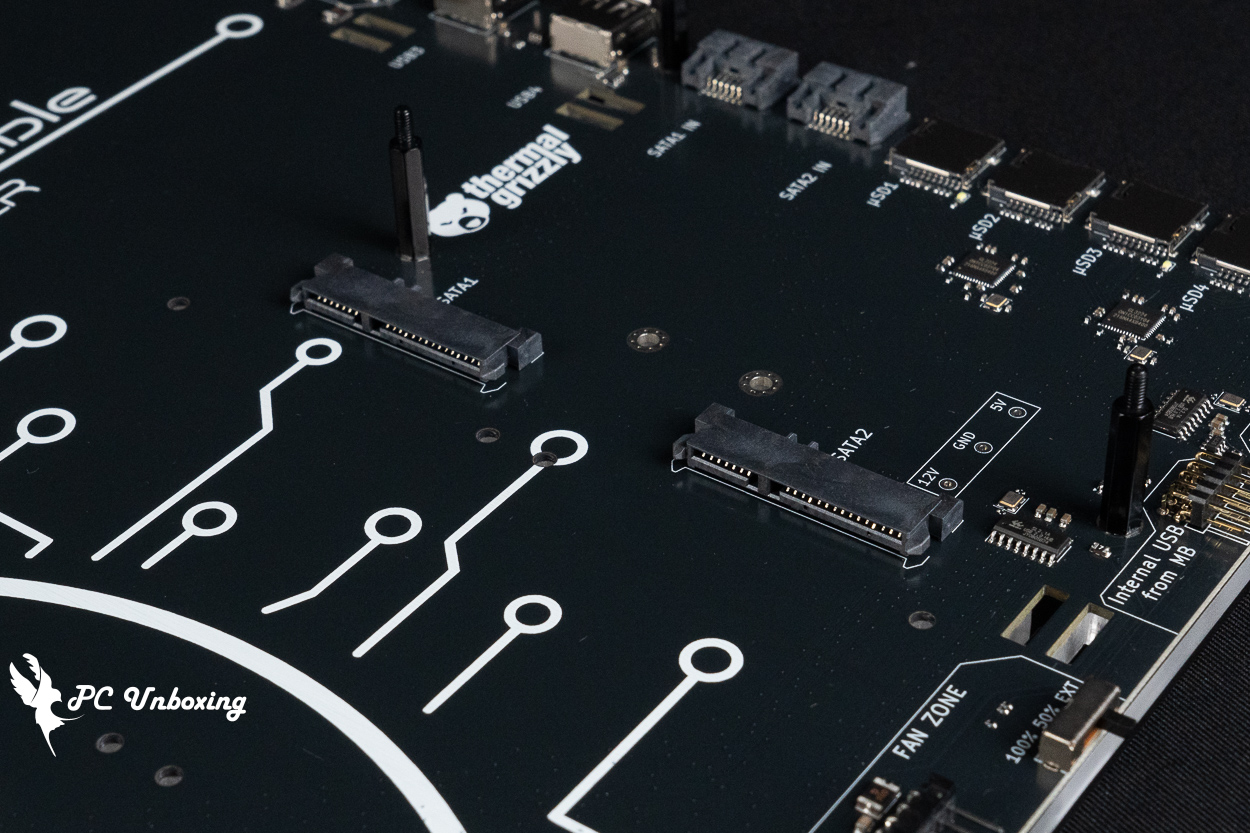
△ Power is supplied and transmitted via the PCB.
In the upper-left corner of the bare test board, there are two USB 2.0 ports and two USB Type-C ports.
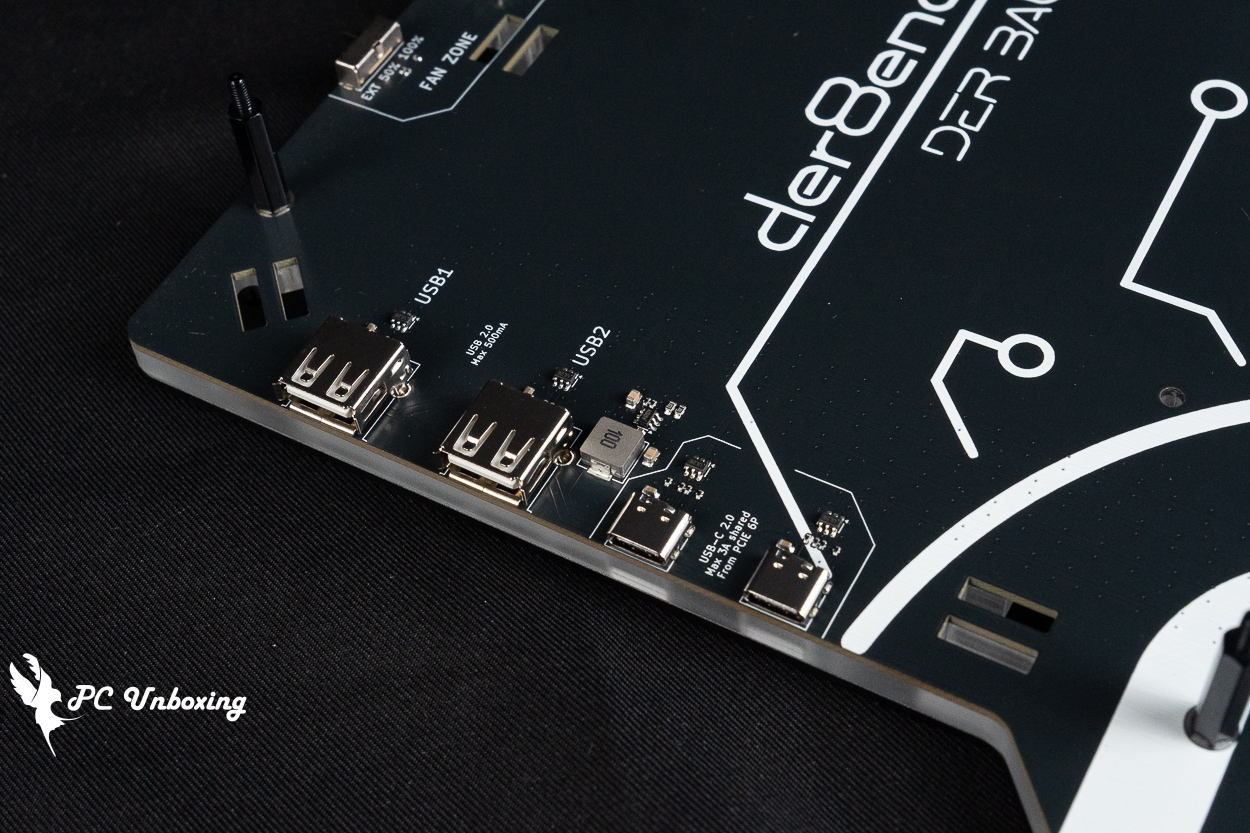
△ There are also two USB-A and two USB-C ports in the upper-left corner.
Thermal Grizzly der8enchtable Bare-Bone Chassis Installation Guide: Demonstration of Motherboard, Power Supply, and Graphics Card Installation
Next, I’ll walk you through the actual installation of the Thermal Grizzly der8enchtable bare-bench mount for your reference. However, since I usually keep my water cooling system in a loose configuration during unboxing and testing—which makes it easier for me to test—I won’t be including the steps for installing the fan mount in this guide.
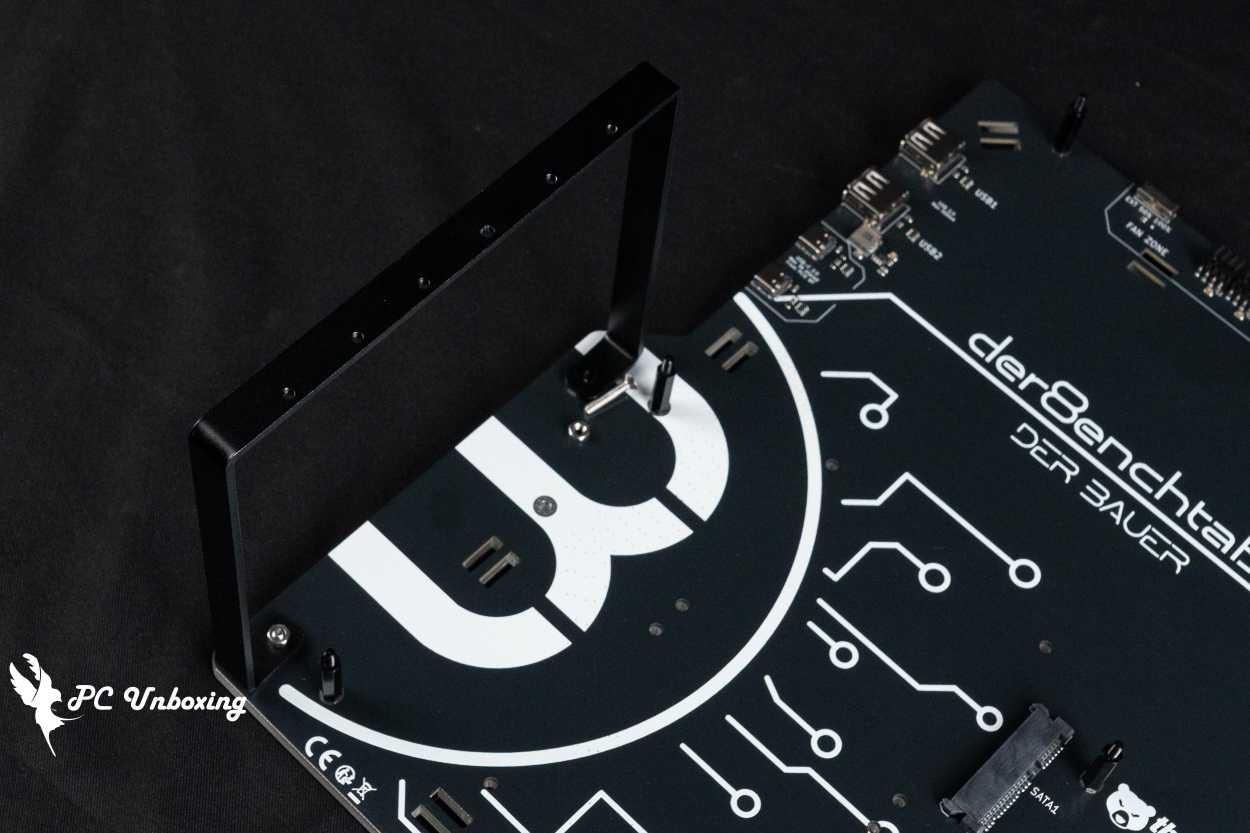
△ Install the graphics card bracket by securing it with screws and nuts from the bottom up.
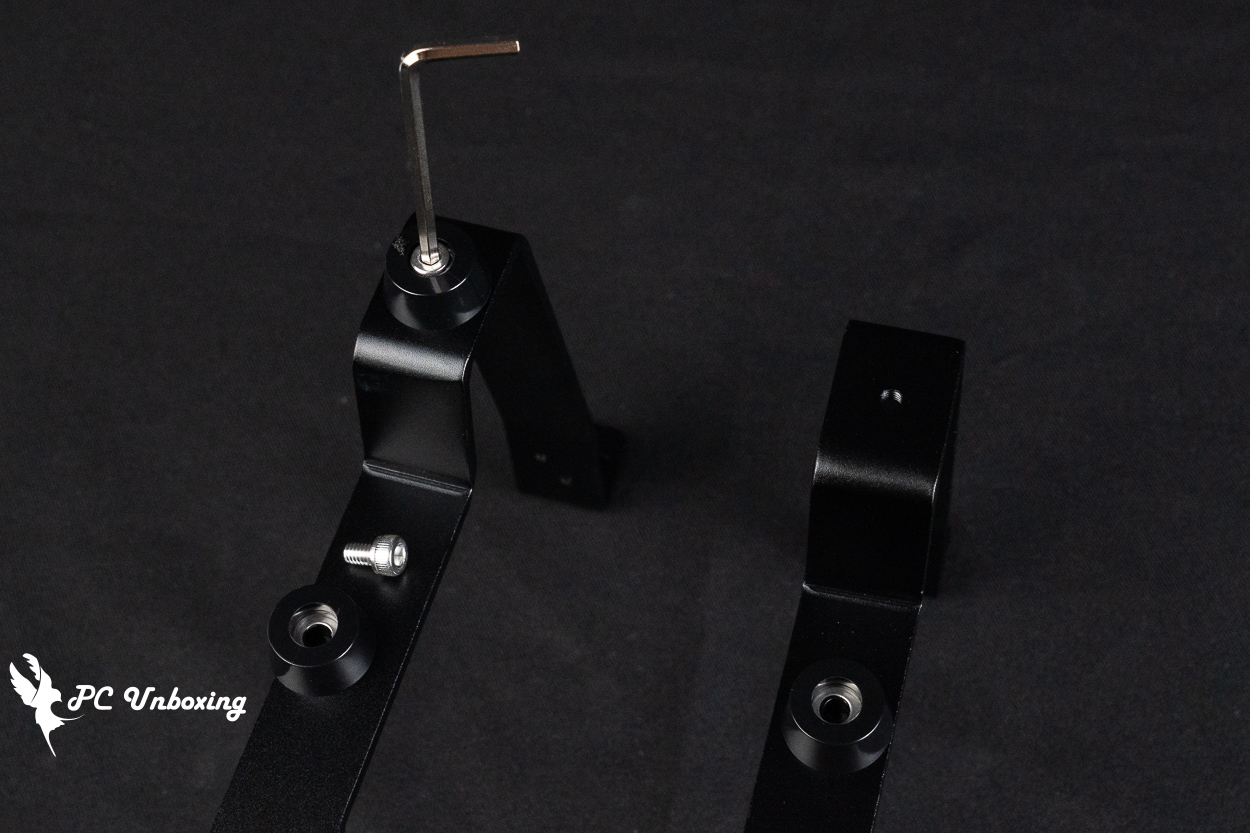
△ Attach the base foot pads to the base bracket.
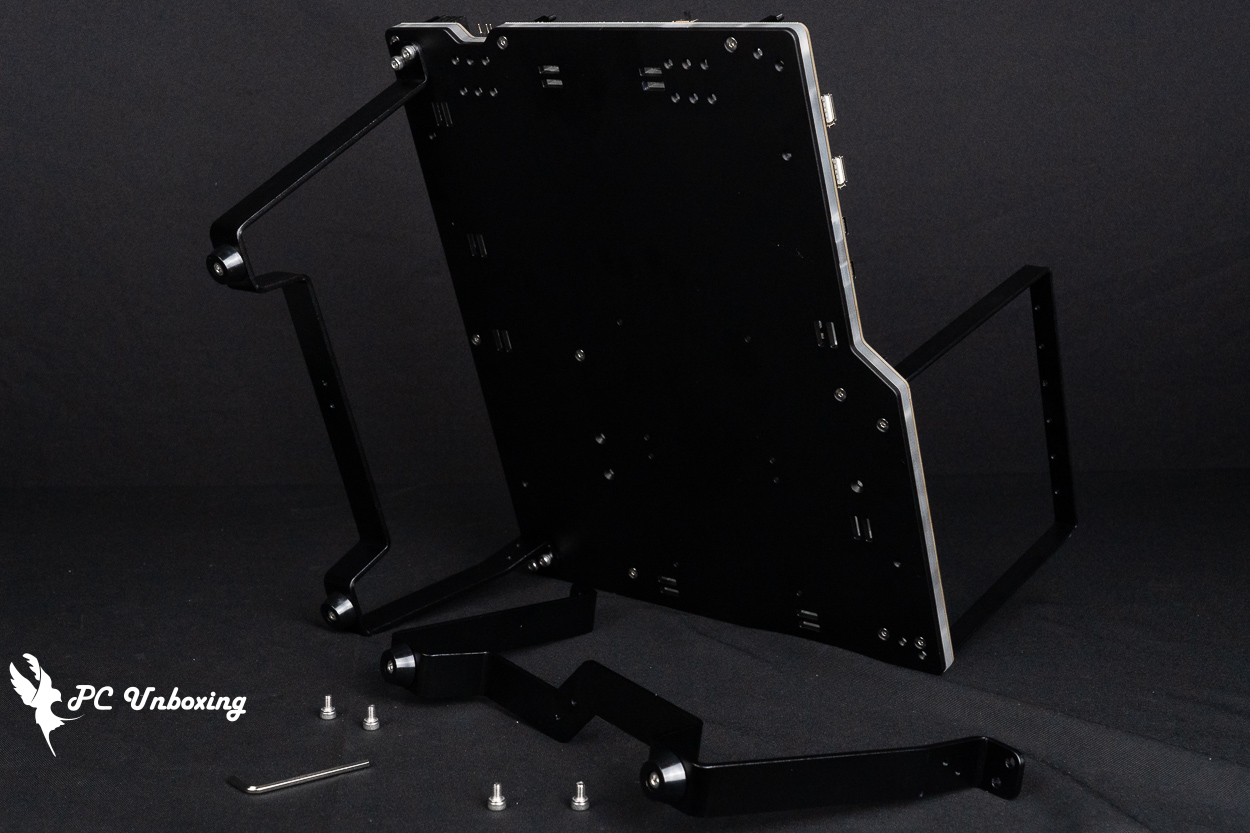
△ Demonstration of base bracket installation. If you want to use a compact setup at a lower height, you don’t need to install the base bracket; however, in that case, the power supply won’t be secured.
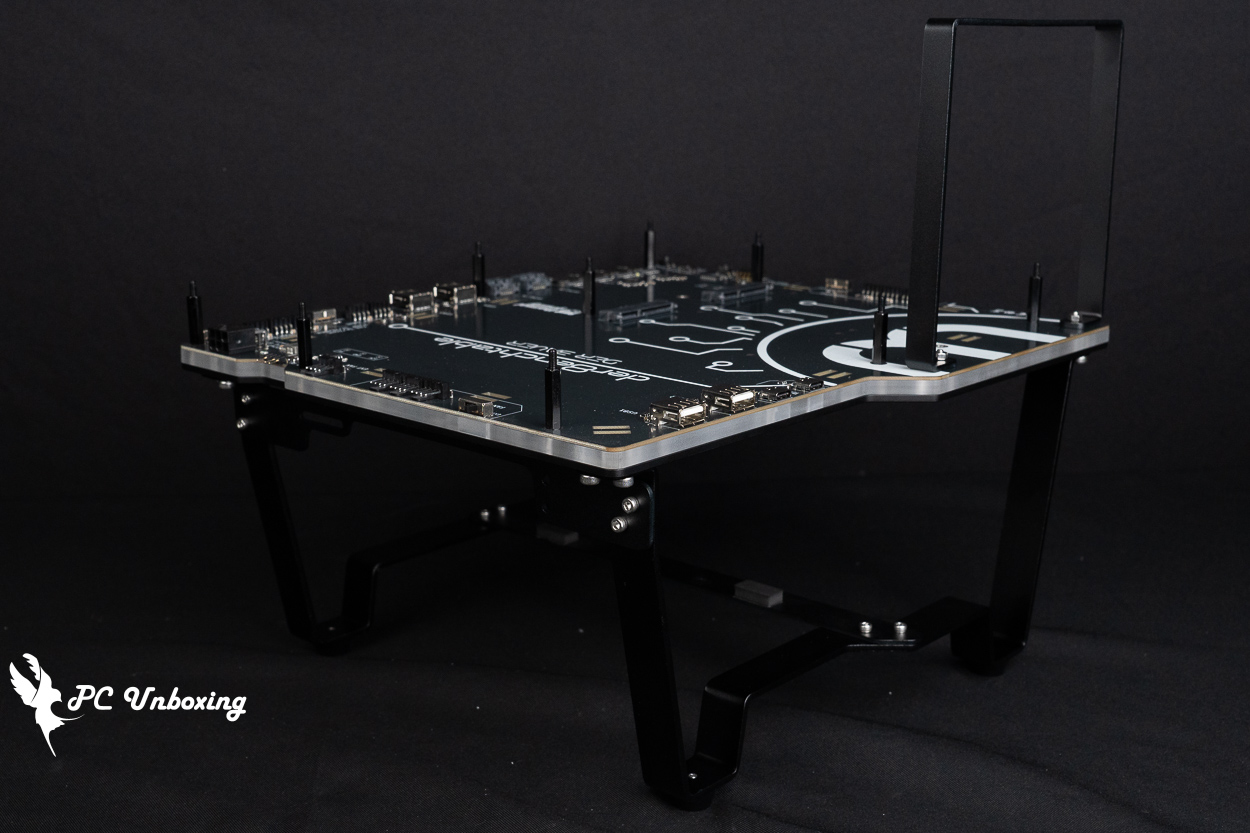
△ Installation of the power supply mounting bracket and support bracket.
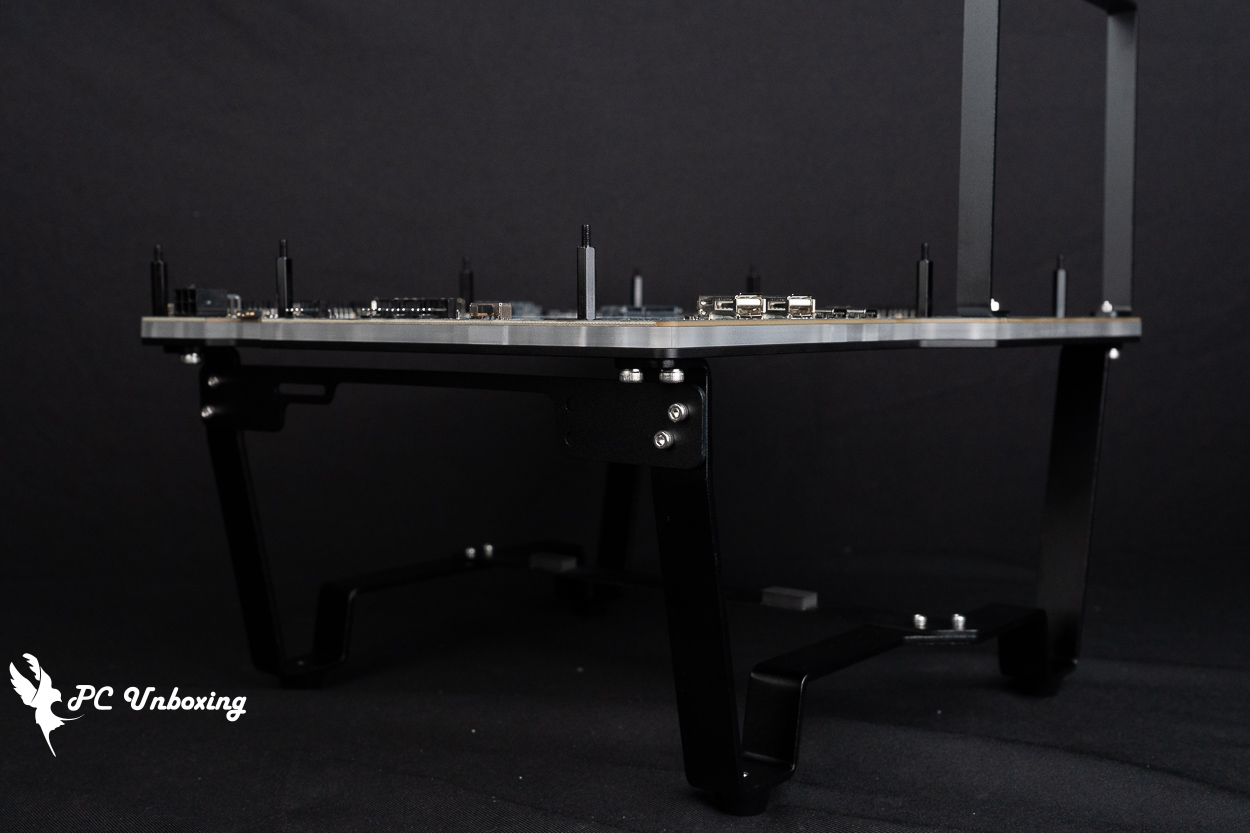
△ The lock holes on the power supply mounting bracket should face toward the top of the PCB—that is, in the same direction as the fan bracket. This means that when the power supply is installed, the switch on the back will face upward.
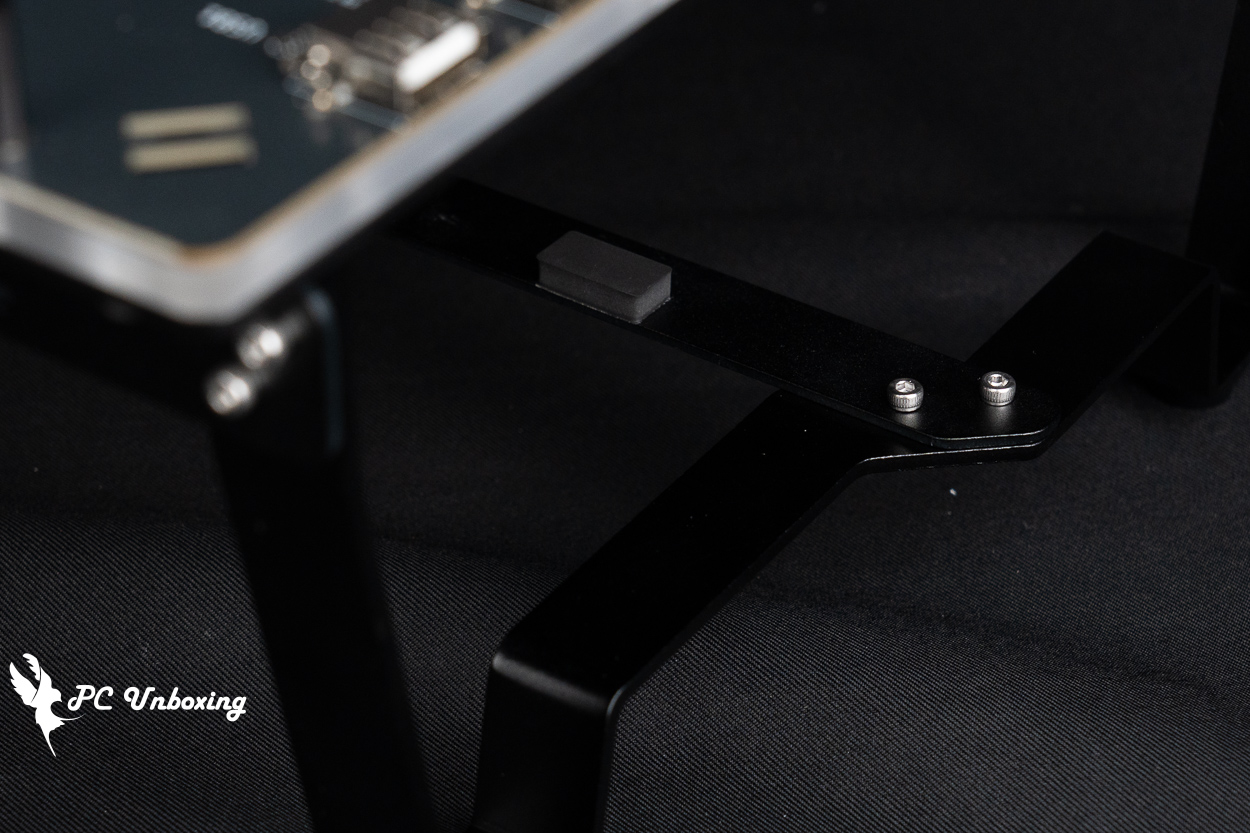
△ The power supply support bracket is equipped with a padded cushion to support the power supply.
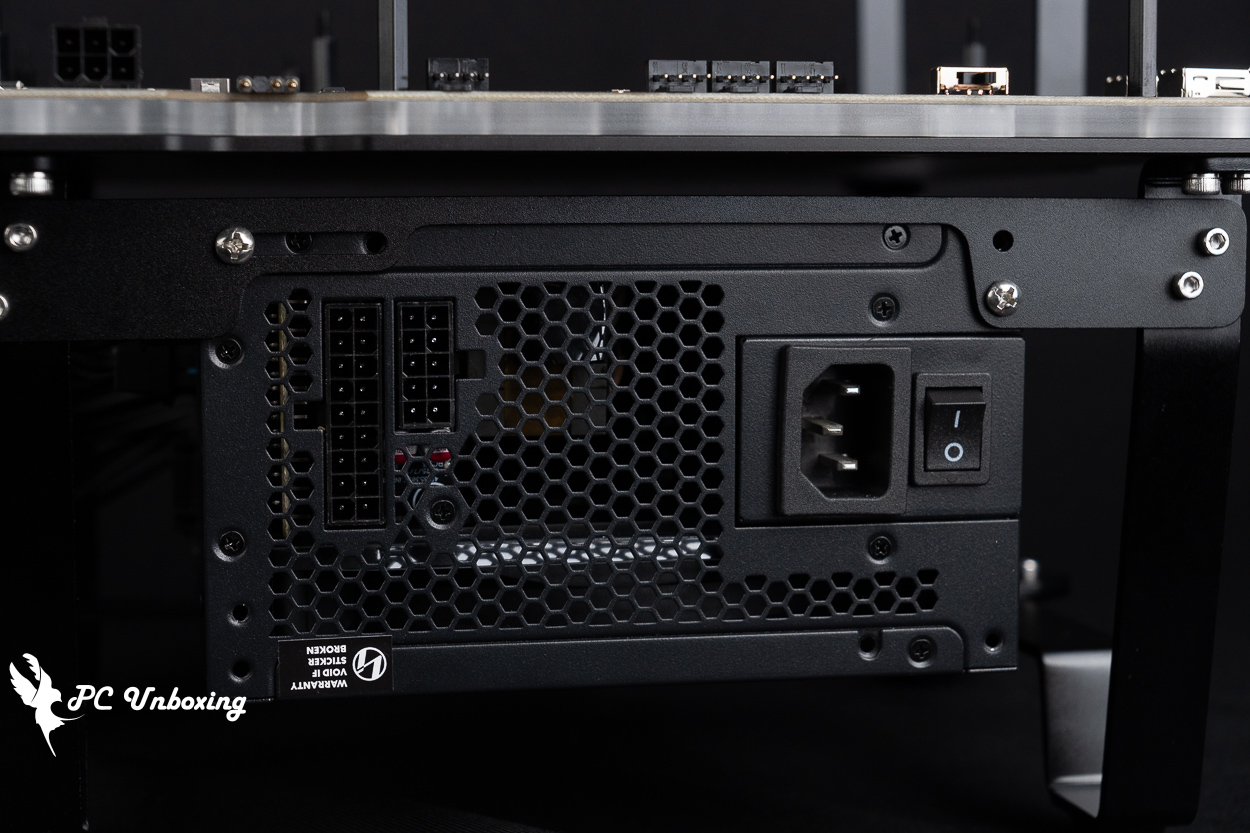
△ Power installation display.
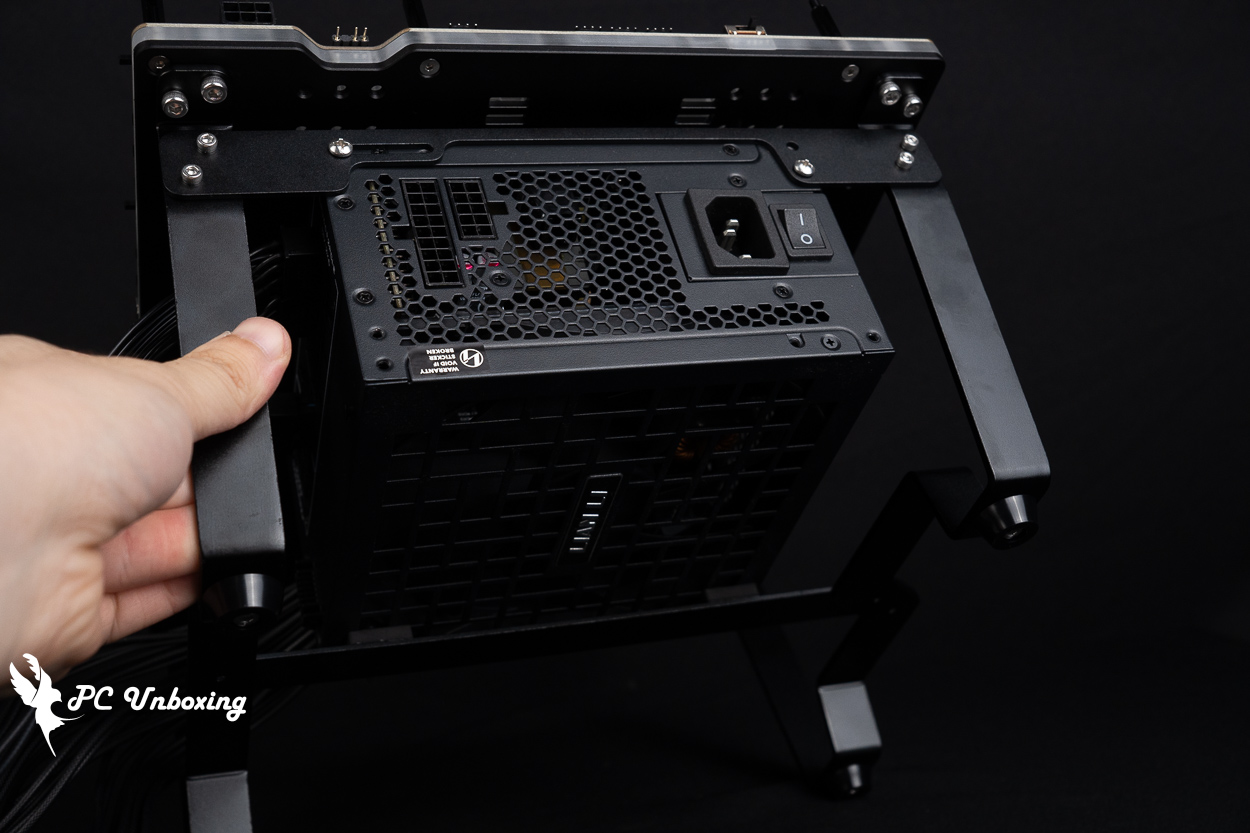
△ The der8enchtable exposed mounting bracket raises the power supply and ground to a certain height, allowing the power supply to be installed facing downward.
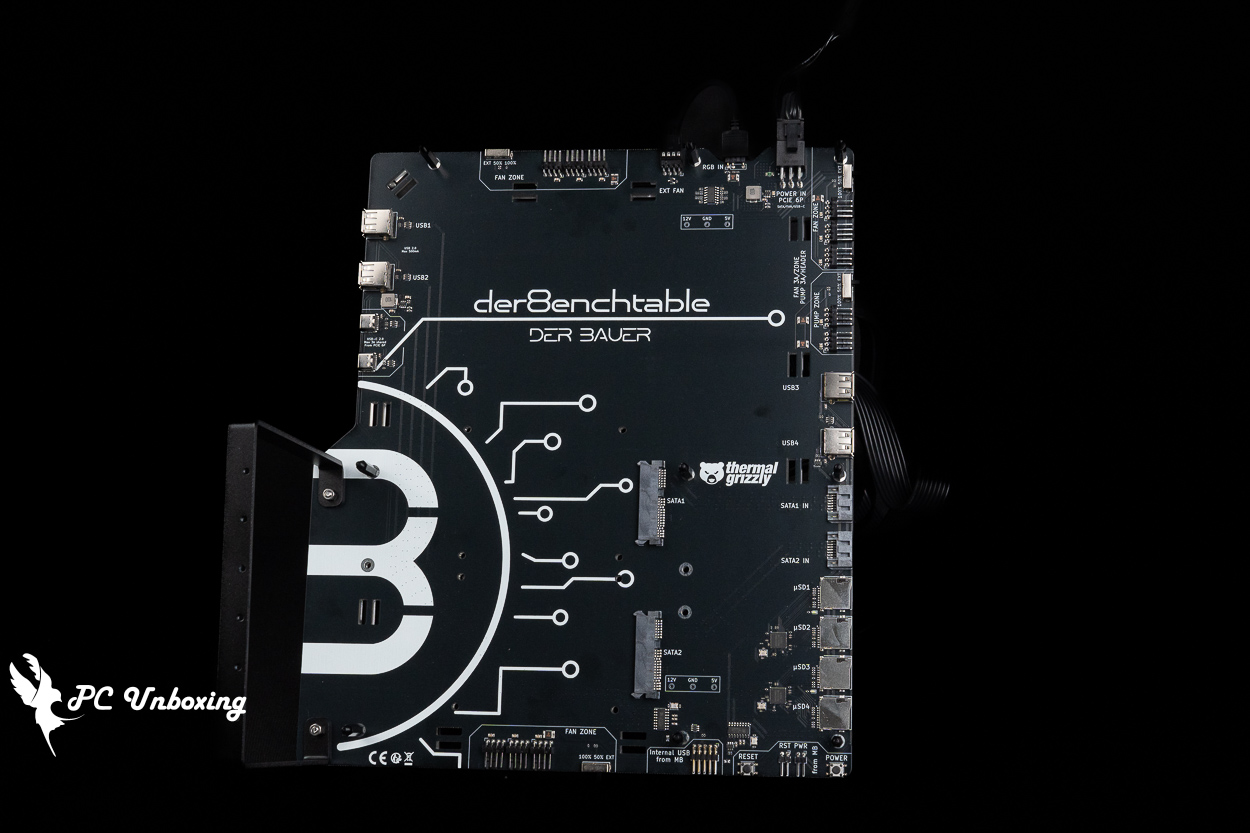
△ Overall demonstration.
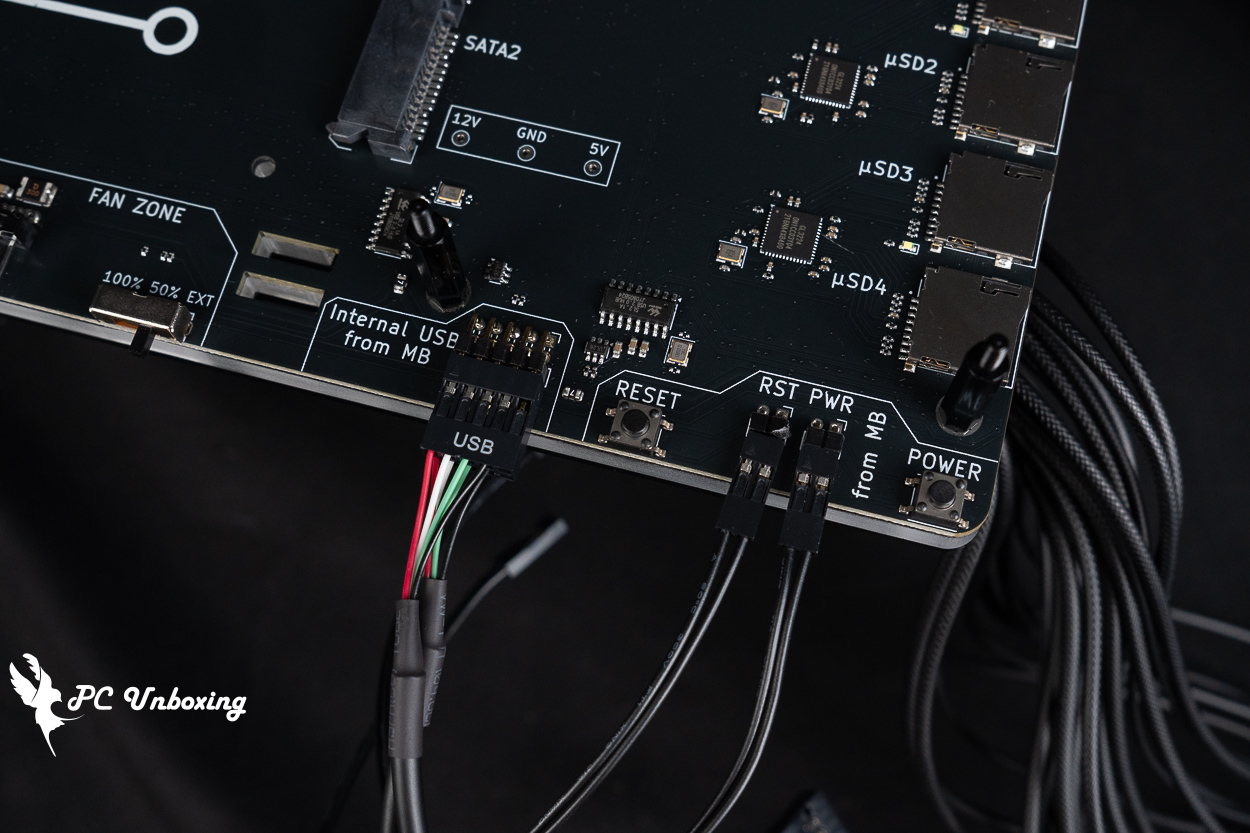
△ Connect the USB 2.0 cable and the power-on/reset cable included in the accessories.
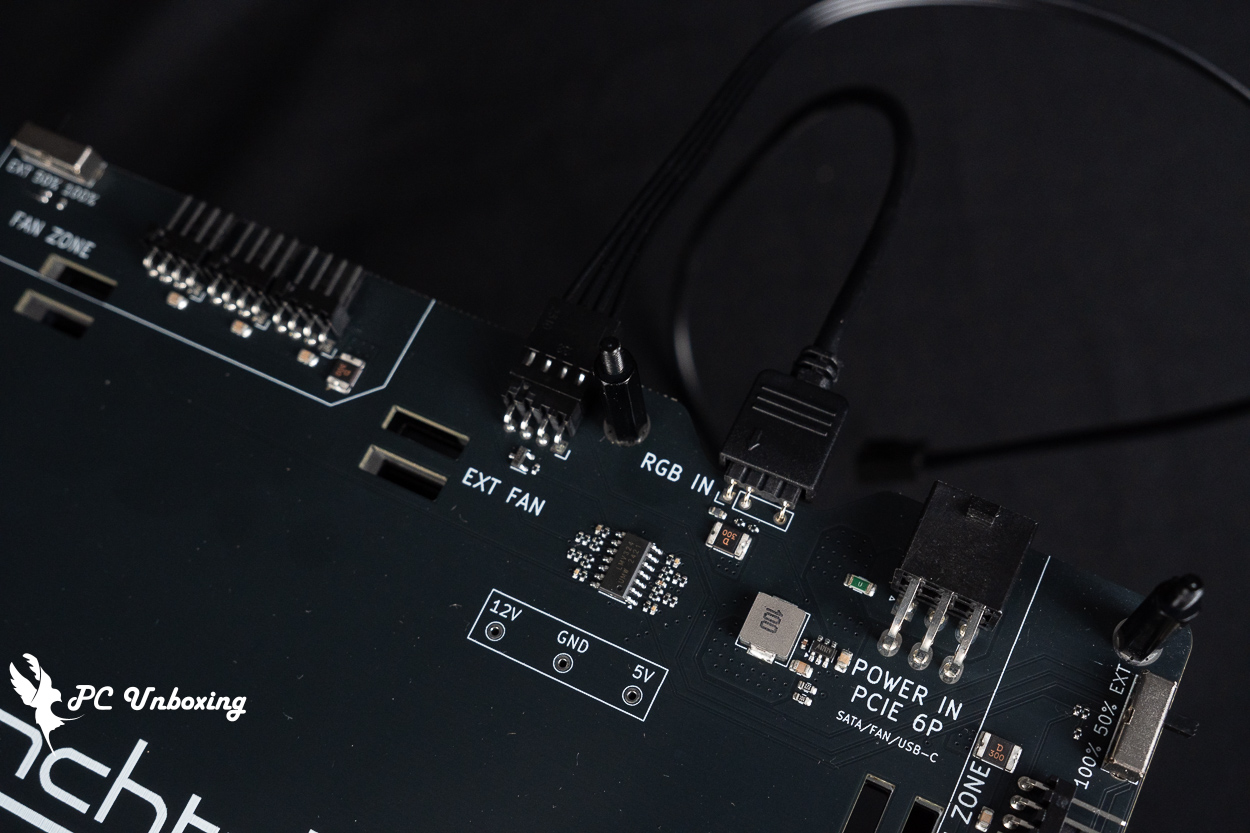
△ Demonstration of installing the PWM fan controller and ARGB cables included with the kit.
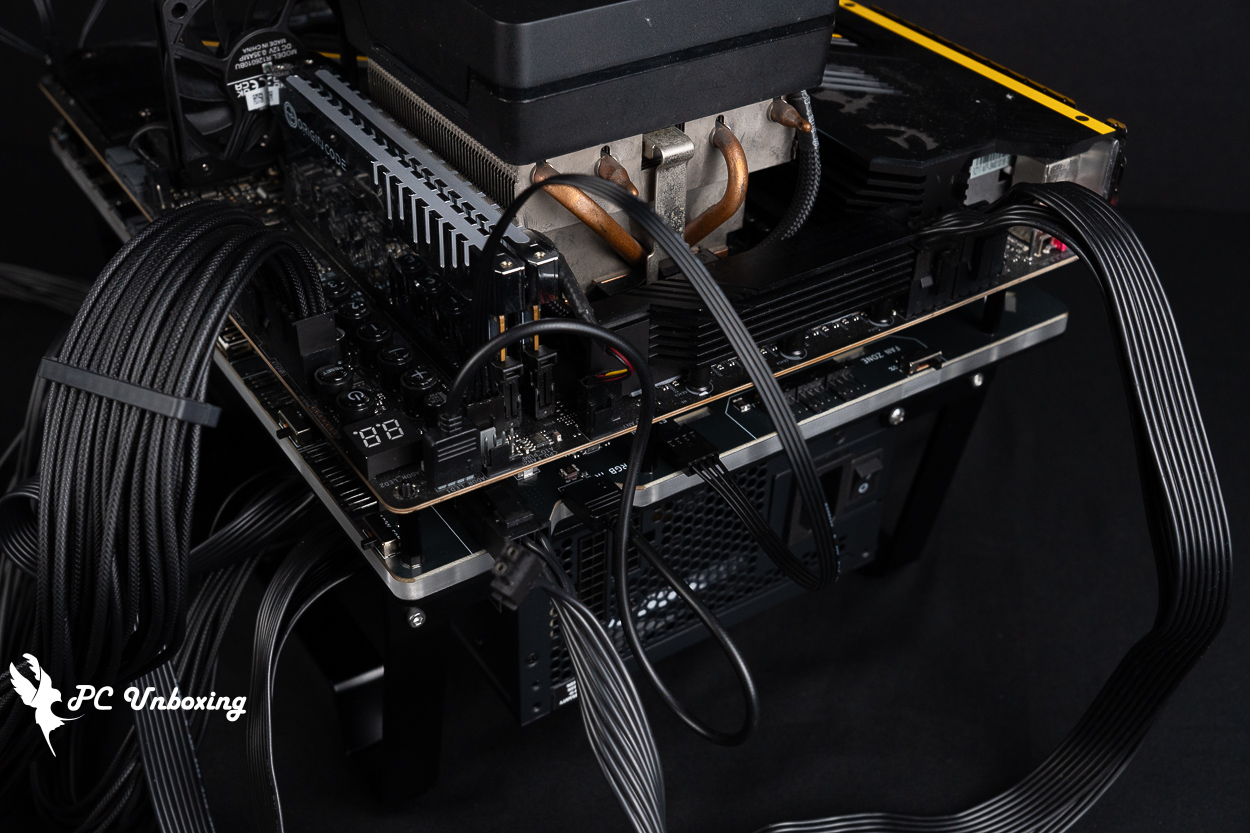
△ Here's what it looks like after connecting the PCIe power cable and installing the motherboard.
△ Example of installing the motherboard in the side slot.
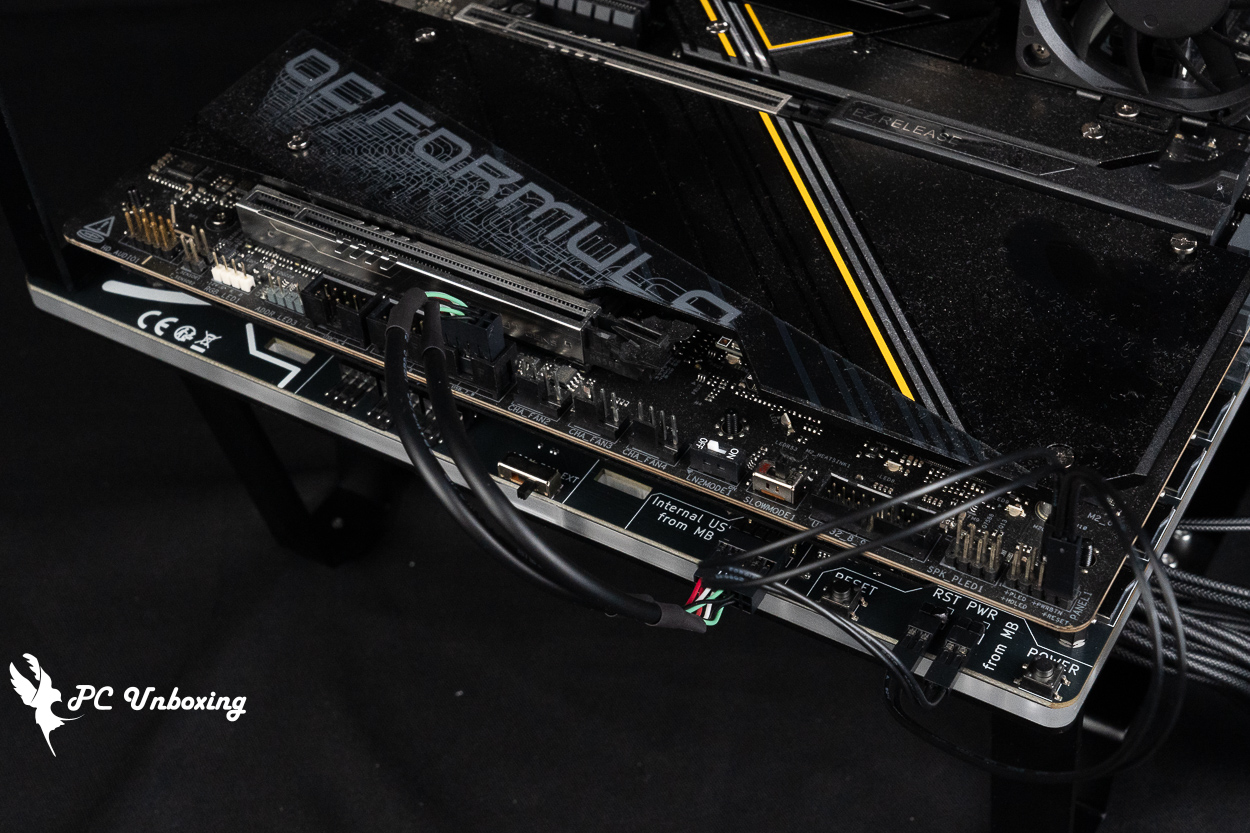
△ See the wiring connection example below.
△ However, there is one issue: if you stand the bare test stand upright to take a photo, the cables underneath will be pinched, and over time, they will be damaged.
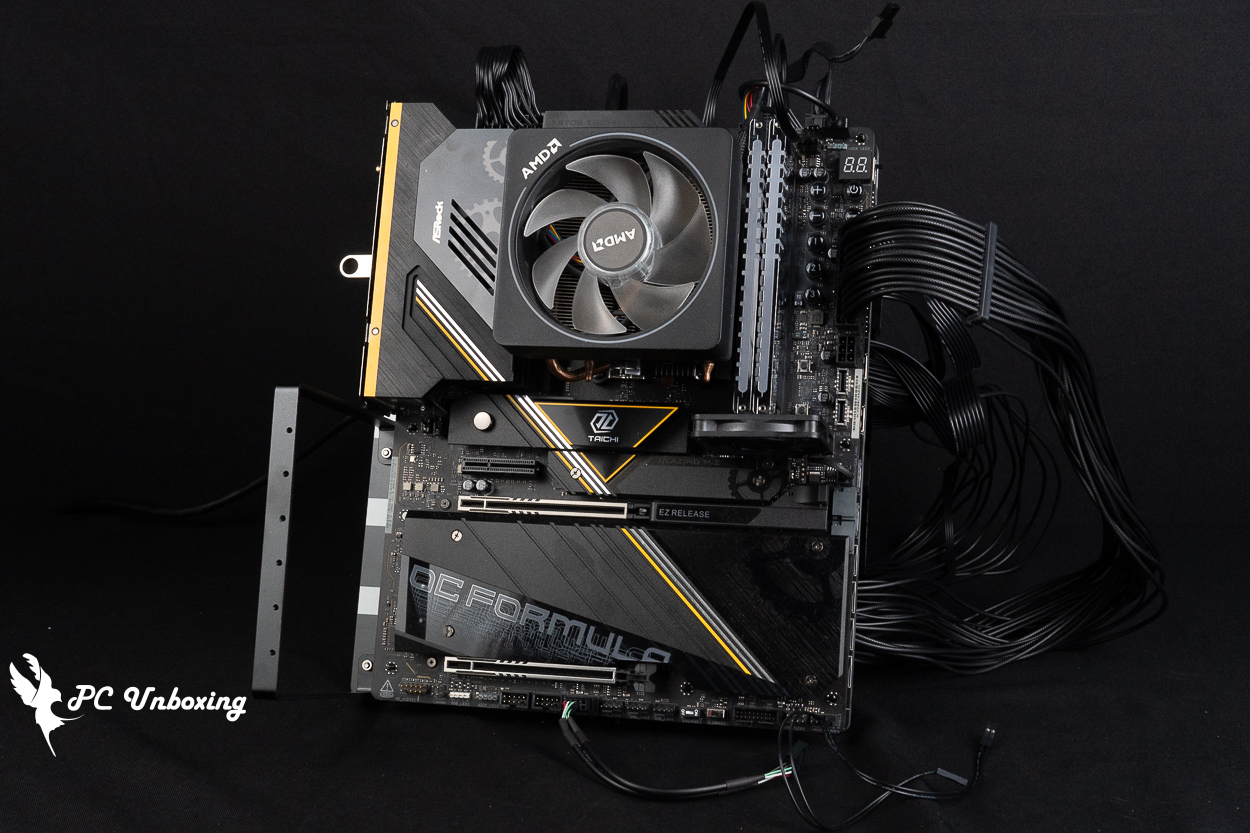
△ Demonstration of ATX motherboard installation. I didn’t secure the motherboard with screws, but it doesn’t fall out even when placed upright.
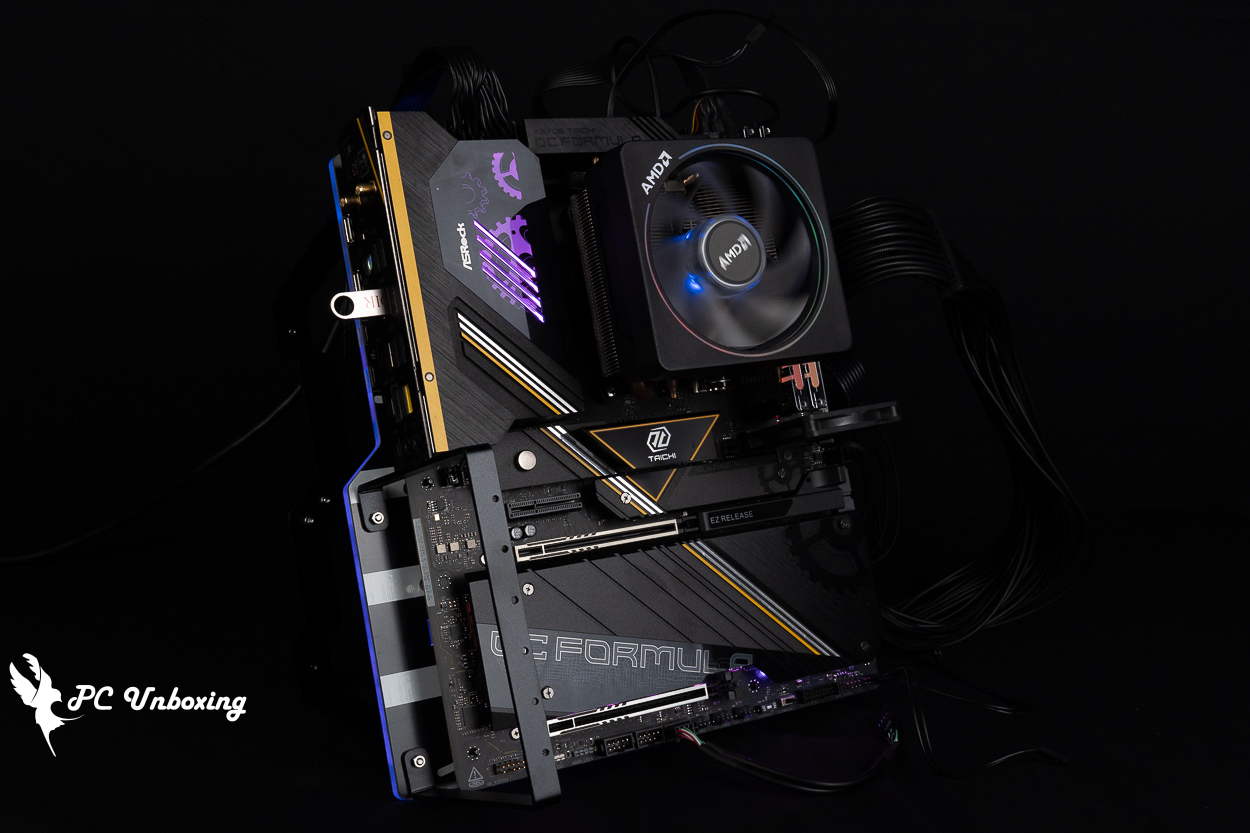
△ Once the device is turned on, the ARGB lights in the PCB sandwich will illuminate.
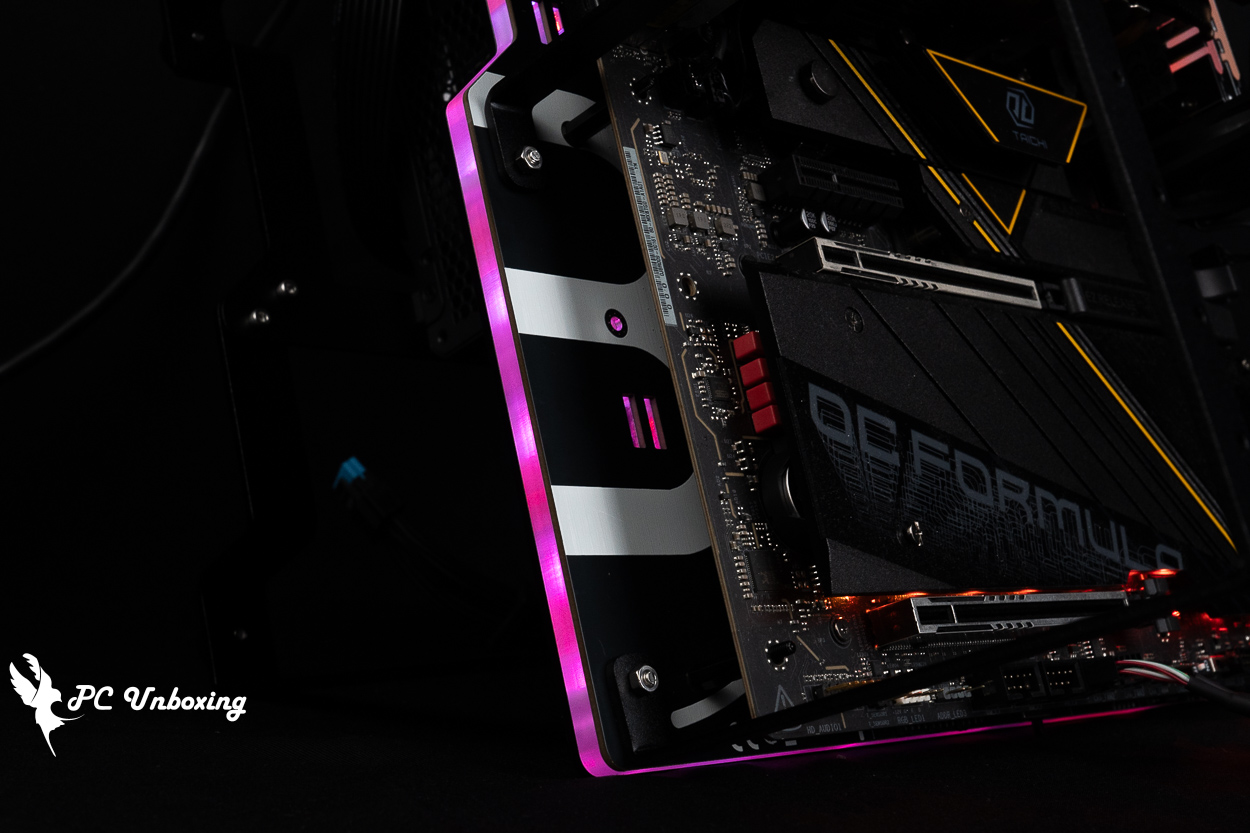
△ However, the gaps between the ARGB LEDs are quite noticeable.
Thermal Grizzly der8enchtable: Hands-On Experience and Review—Is It Worth Replacing the Streacom BC1?
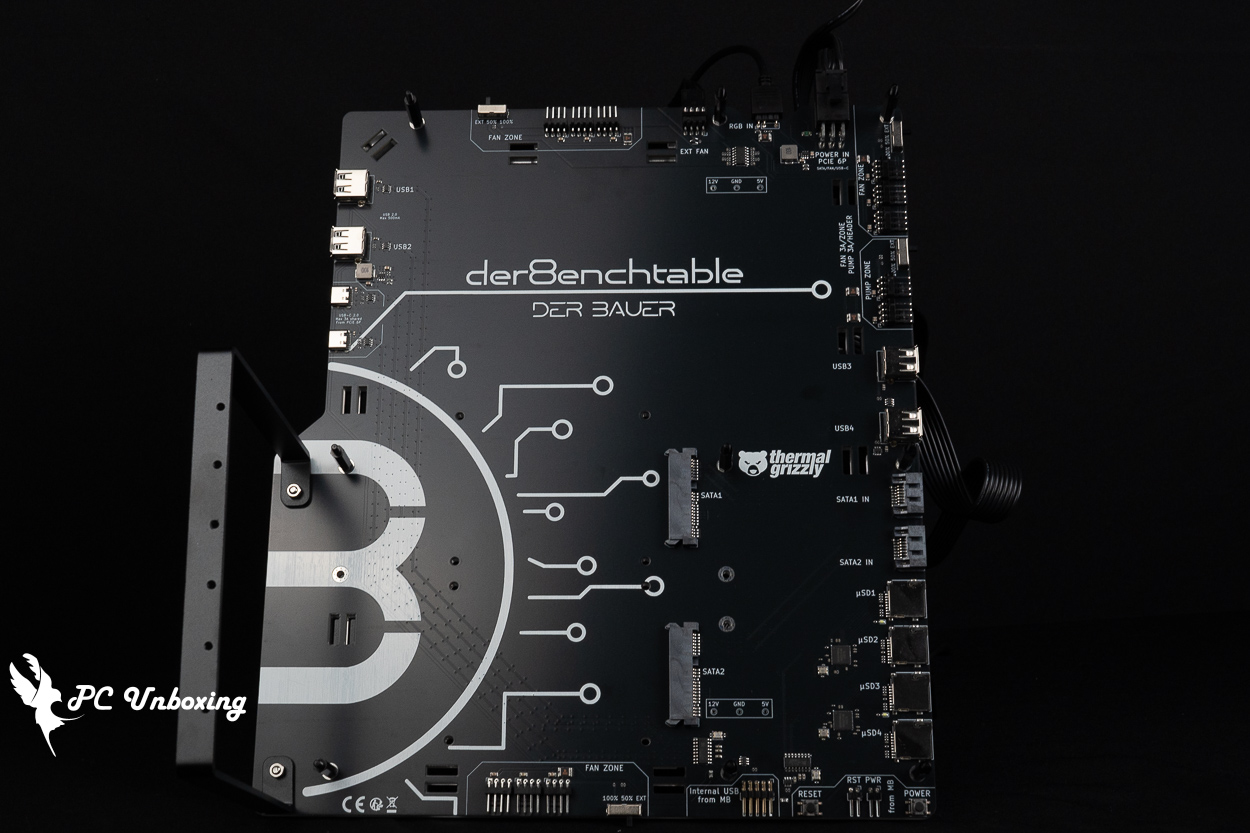
After actually unboxing the Violent Bear Thermal Grizzly der8enchtable barebone test rig, I believe this product is ideal for test engineers or overclockers (excluding those using liquid nitrogen). Compared to the Streacom BC1, the der8enchtable features a PCB and expansion slots that allow you to permanently mount frequently used testing devices—such as storage drives or fans—directly onto the barebone test rig. This eliminates the need to constantly plug and unplug devices whenever you switch motherboards, which is especially convenient for those who frequently test different motherboards. The PCB also features numerous cutouts designed to work with Velcro cable ties for cable management.
Compared to the BC1, it’s about 3,000 or 4,000 New Taiwan Dollars more expensive. In terms of overall modularity and attention to detail, the Streacom is indeed superior, but the Thermal Grizzly der8enchtable offers more practical slots, and the der8enchtable allows the power supply fan to be mounted facing downward, whereas with the BC1, the height is too low, so I’m usually forced to install the PSU fan facing upward.
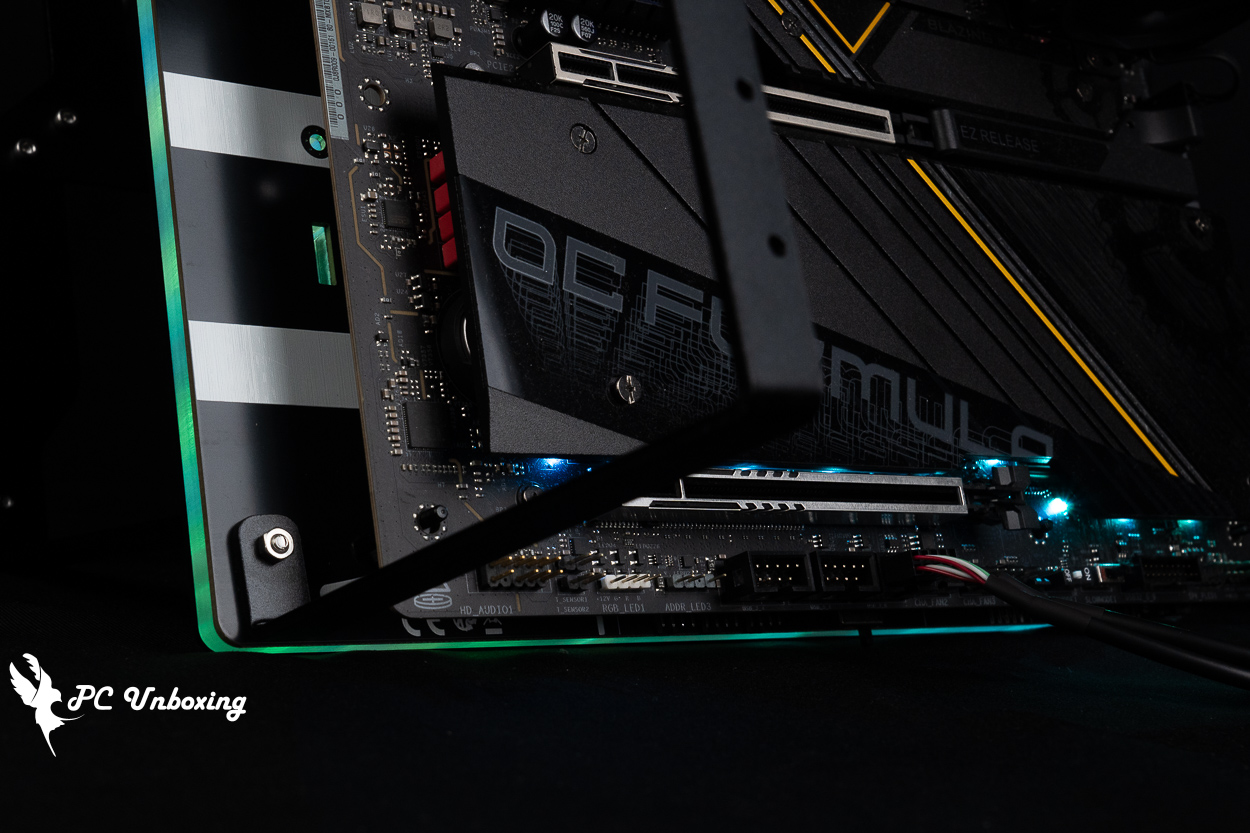
There are also a few areas where I think the der8enchtable could be improved. For example, an M.2 expansion slot would make it better suited for modern use, and the cables at the bottom get pinched when the case is used in an upright position on a barebone stand, which makes it pretty inconvenient for my unboxing videos.
Ultimately, whether you should switch from the BC1 to the Thermal Grizzly der8enchtable bare-metal test rig depends on whether you need these practical slots and features. If you do, it’s definitely worth the upgrade.

Yun
Drinks with less than full sugar are colored water. Crossing Turbid Creek, full sugar is not a crime!


 繁體中文
繁體中文  English